

When you restore a 19th-century stone cottage like those found in the Yorkshire Dales, you’ll quickly discover that its thick walls can hide movement, damp, and decades of improvised repairs. Start with a careful survey, record every defect, and research the building’s history before choosing materials or finishes. Then set a realistic budget, secure permissions, and bring in specialists where needed. The first repair you uncover may change your entire plan.
Key Takeaways
- Survey the cottage thoroughly, documenting structural defects, moisture problems, historic features, and necessary repairs with photographs and measurements.
- Confirm planning restrictions, obtain required permissions, create a detailed budget, and include at least a 15% contingency for hidden damage.
- Address roofs, drainage, foundations, masonry, and ventilation first, using breathable materials and compatible lime mortar to protect the building’s fabric.
- Stabilize unsafe structures before dismantling, carefully preserve original stones and timbers, and employ specialists experienced in historic cottage conservation.
- Finish with breathable paints, suitable insulation, durable period-appropriate fixtures, and practical upgrades that preserve the cottage’s character.
Inspect Your Old Stone Cottage
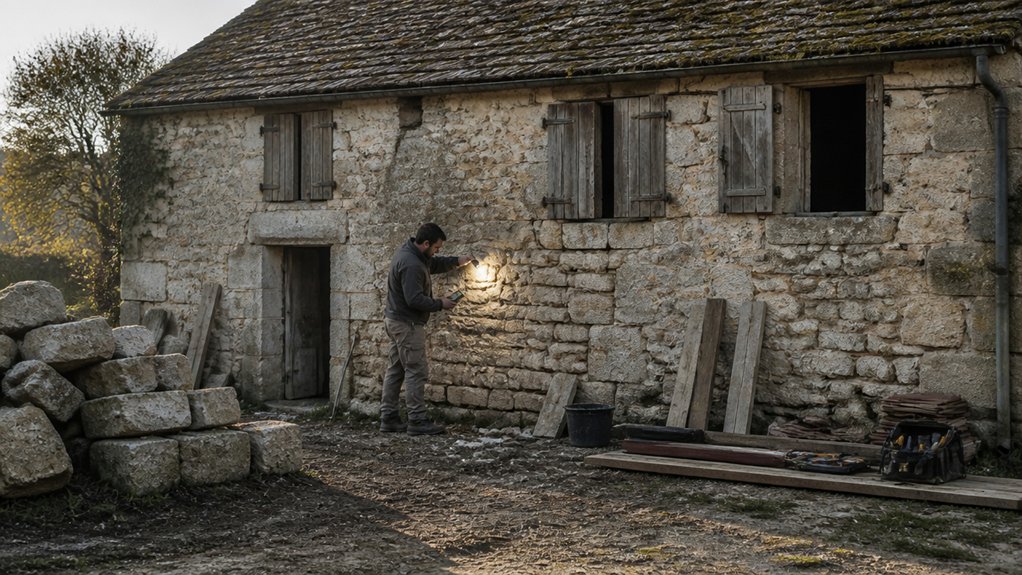
Before planning any work, inspect the cottage from foundation to roof, noting how its original stonework, lime mortar, timber, and later alterations have weathered.
Walk each elevation and record cracked masonry, open joints, bulging walls, damp staining, and plant growth.
Check foundations for settlement, then examine roof coverings, rafters, chimneys, gutters, and flashing for movement or leaks.
Inside, look for sagging floors, rotten joists, warped openings, salt deposits, and mould.
Test ventilation and trace moisture before assuming you need replacement materials.
Photograph every defect, measure rooms, and mark findings on a simple plan.
Research the cottage’s age, local materials, and previous repairs to support Historical accuracy.
Consult a conservation professional when damage threatens stability.
Follow suitable Preservation techniques, retaining sound fabric and repairing rather than removing original elements wherever possible.
Build a Budget From the Survey
Use your survey as the basis for a room-by-room budget, separating urgent structural and water-related repairs from routine maintenance and later improvements.
Price roof repairs, drainage, repointing, damp treatment, and timber replacement first, then add electrical, plumbing, heating, insulation, and finishes.
Request several written estimates, but compare materials and methods, not just totals.
Include allowances for hidden damage behind plaster, floors, and ceilings; old cottages rarely reveal everything at once.
Set aside at least 15 percent as a contingency, increasing it if the survey identifies movement or persistent moisture.
Protect Historical accuracy by costing lime mortar, breathable finishes, reclaimed stone, and suitable joinery rather than cheaper incompatible substitutes.
Finally, budget your interior design choices separately, prioritising durable, repairable furnishings that complement the cottage’s age without disguising its character.
Review the figures monthly as work progresses.
Check Permissions and Hire Specialists
Once your budget includes realistic allowances, confirm which permissions apply and assemble the right specialists. Contact your local planning authority to check whether the cottage is listed, lies in a conservation area, or needs consent for alterations, extensions, windows, roofing, or changes to services. Don’t rely on informal advice: obtain written confirmation and understand building-control requirements before work begins.
Review any restrictions attached to the property, including protected trees, shared access, or septic systems. Then appoint Specialist contractors with proven experience in historic cottages, and verify references, insurance, qualifications, and availability.
Include a conservation-minded architect, surveyor, or engineer where needed to interpret old construction and coordinate approvals. Give every professional the survey, photographs, permissions, and a clear brief, so Legal permissions guide decisions from the outset.
Repair Stone Walls and Structural Damage
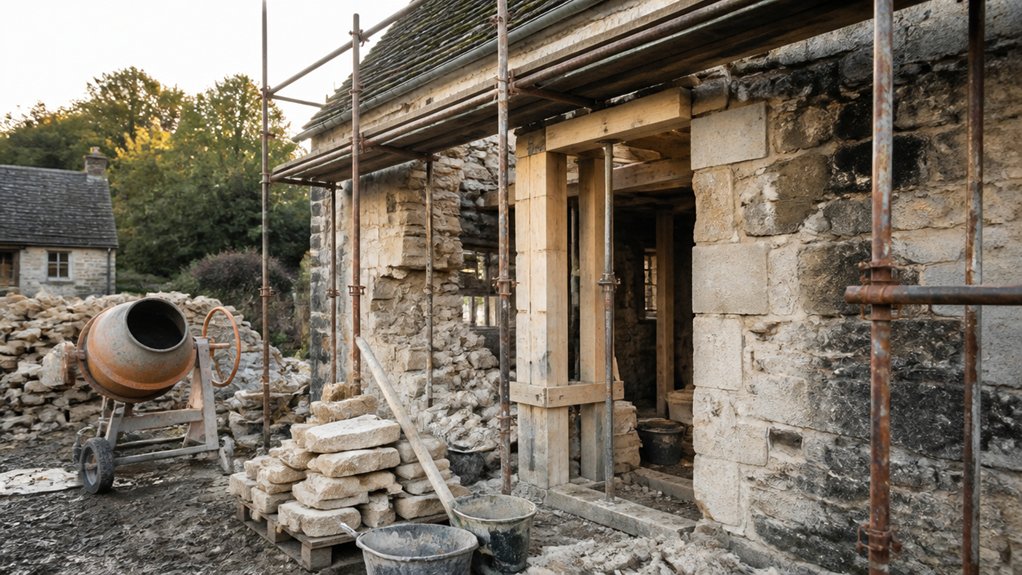
With permissions and specialists in place, start by tracing cracks, bulging walls, displaced stones, damp patches, and failing lintels to their structural causes rather than treating visible damage in isolation.
Record movement with dated photographs and measurements, then stabilise unsafe areas before dismantling anything.
Your mason should carefully number and store stones, retaining sound originals for rebuilding.
Use compatible lime mortar, not hard cement, so repaired joints remain breathable and move sympathetically with historic masonry.
Traditional stone wall techniques—deep tooth bonding, proper through-stones, and matched rubble packing—can restore strength without erasing character.
Replace failed lintels with appropriately sized stone or timber, supported temporarily during work.
Where movement demands it, your engineer may specify discreet structural reinforcement methods, such as stainless-steel helical bars or concealed ties.
Repoint gradually, cure protected mortar, and inspect repairs before proceeding.
Control Damp Before Adding Insulation
After structural repairs, let the walls dry before you add insulation or close up finishes. Stone and lime mortar need time to release trapped moisture, so monitor damp patches with a moisture meter and observe them through wet and dry weather.
Trace the source: repair gutters, downpipes, pointing, flashing, and ground levels before treating symptoms. Don’t seal historic masonry with impermeable cement render, tanking, or plastic moisture barriers; these can trap water and accelerate decay.
Choose breathable lime plaster and compatible finishes instead. Improve airflow with discreet ventilation techniques, including opening windows, clearing vents, and fitting controllable air bricks where appropriate.
Keep internal humidity steady, and avoid pushing insulation against wet walls. Once readings remain stable, install vapour-open insulation that lets the cottage’s fabric dry naturally.
This protects finishes and preserves its character.
Modernize Plumbing, Heating, and Electrics
Before closing walls or floors, plan new plumbing, heating, and electrical routes around the cottage’s historic fabric. Ask a qualified surveyor and certified tradespeople to inspect existing services, map structural walls, and locate hidden beams before cutting.
Run pipes and cables through discreet service zones, lifting floorboards rather than chasing channels into stone. Insulate hot-water pipes, fit Water saving fixtures, and position accessible shut-off valves to simplify future repairs.
Choose efficient heating that suits the building’s ventilation and moisture balance; underfloor systems may harm historic floors, while carefully sized radiators or air-source equipment can work better.
Install Smart thermostats without disguising controls behind panelling. Upgrade the consumer unit, provide adequate sockets, and include smoke, heat, and carbon-monoxide detection.
Photograph every route before reinstatement.
Choose Durable Finishes That Suit Cottage Life

Choose hard-wearing flooring, such as sealed stone, quarry tile, or reclaimed boards, to withstand muddy boots and everyday wear while respecting the cottage’s character.
Select washable wall finishes that cope with damp, cooking, and busy family life without hiding the masonry’s heritage.
Install durable fixtures with simple, period-appropriate designs, so they’ll serve reliably without looking out of place.
Choose Hard-Wearing Flooring
For a stone cottage, flooring must withstand muddy boots, damp air, pets, and daily foot traffic without undermining the building’s character. Start by checking the subfloor, moisture levels, and floor heights before choosing a finish.
Reclaimed stone or locally sourced limestone offers exceptional durability and suits historic walls, though it can feel cold and requires careful sealing.
Terracotta tiles add warmth and age gracefully, but they need protection from staining.
For practical flooring options, consider engineered timber, which handles changing humidity better than solid boards while preserving a traditional appearance.
Compare material comparisons for slip resistance, repairability, insulation, and maintenance, not just appearance.
Use breathable lime-compatible bedding where appropriate, and avoid impermeable adhesives that could trap moisture.
Keep thresholds low, retain sound original boards, and fit durable mats at entrances.
Select Washable Wall Finishes
How can your walls stay practical without losing the cottage’s historic character? Start by repairing cracked lime plaster and allowing damp masonry to breathe. Avoid impermeable vinyl coatings, which can trap moisture and damage old stonework.
Compare wall paint options such as breathable clay, mineral, or limewash finishes; choose a washable formulation where busy rooms need easier cleaning. But test colors on several walls before committing. Soft chalky tones, muted greens, and warm whites usually complement original stone and timber without looking overly modern.
For patterned rooms, choose washable wallpaper with a breathable paper backing, and install it over a sound, dry surface. Keep historic paneling, exposed masonry, and irregular plaster visible where possible.
Use low-sheen finishes to disguise minor imperfections, and save scrubbable paint for kitchens, boot rooms, and family areas. Always follow the manufacturer’s guidance on preparation and drying.
Install Durable Fixtures
Look for fixtures that can withstand daily use while feeling at home in the cottage’s age and setting. Choose solid brass, copper, porcelain, or cast iron for taps, handles, hinges, and light fittings; these materials tolerate knocks and develop character rather than looking worn.
Vintage fixtures can add authenticity, but check wiring, seals, and mounting points before installation. If an original piece isn’t safe or practical, select a modern reproduction with period proportions and efficient performance.
Use Rustic hardware on doors, cupboards, and shutters, securing it firmly into sound timber or carefully fitted plugs.
In kitchens and bathrooms, favour simple shapes, replaceable parts, and finishes that resist moisture. Keep exposed fixings accessible for future repairs, and avoid overly ornate pieces that compete with the stonework or restrict everyday use.
Conclusion
Renovating an old stone cottage isn’t about erasing its past; it’s about giving that past a safer, warmer future. Once you’ve surveyed the building, secured permissions, repaired its structure, managed moisture, and upgraded essential services, choose finishes that can handle everyday life without disguising its character. You’ll encounter a few “gentle surprises” along the way, but careful planning, breathable materials, and specialist advice will help you create a durable home that still feels rooted in place.

