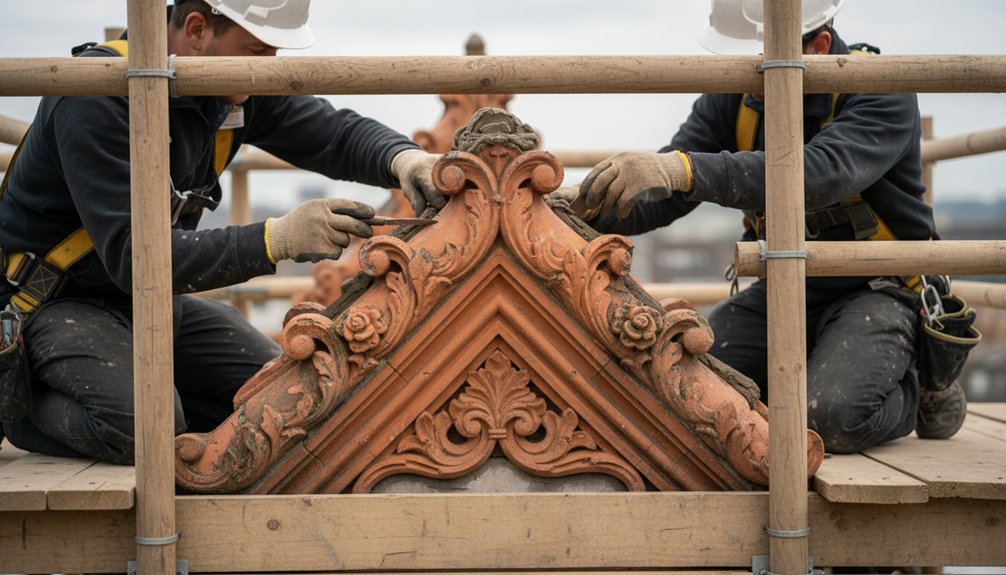
Restoring ornate Victorian terracotta ridge tiles and finials calls for patience, careful observation, and respect for original craftsmanship. You’ll begin by evaluating their condition, planning safe removal, and recording each piece before cleaning or repair. Matching colours, textures, and historic fixing methods matters just as much as addressing cracks or losses. Follow each stage methodically, because one overlooked detail at the outset can affect the final installation and the roof’s long-term character.
Key Takeaways
- Inspect and document every ridge tile and finial, recording condition, dimensions, profiles, colours, textures, fixings, and original sequence.
- Plan safe roof access and carefully remove, label, photograph, wrap, crate, and store each piece in a dry, ventilated environment.
- Clean terracotta gently with soft brushes and minimal moisture, avoiding pressure washing, abrasives, bleach, acids, and detergents.
- Repair or reproduce missing elements using compatible terracotta, lime-based materials, mineral pigments, and carefully matched textures and colours.
- Reinstall components in their original arrangement using sound bedding, corrosion-resistant fixings, discreet restraints, and adequate roof ventilation.
Check Victorian Terracotta Ridge Tiles and Finials
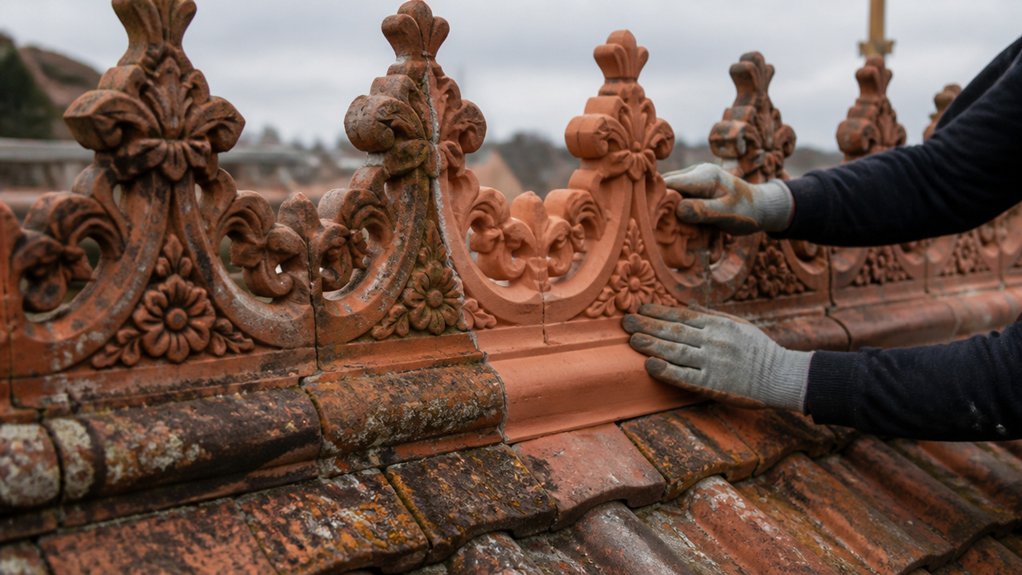
Begin by checking each Victorian terracotta ridge tile and finial for cracks, spalling, loose bedding, and previous repairs. Work methodically from ground level, then inspect accessible areas closely without disturbing fragile fabric.
Note each piece’s position, profile, colour, surface texture, and fixing method, recording findings with clear photographs and measured sketches. Look for hairline fractures around projections, water staining, salt deposits, biological growth, and cement repairs that may conceal earlier damage.
Compare altered sections with surviving original details to distinguish historic workmanship from later intervention. Your assessment should respect Victorian craftsmanship and the roof’s historical significance, treating every mark as evidence rather than a defect to erase.
Don’t clean aggressively or test stability by force; identify vulnerable areas for specialist evaluation and preserve the existing condition as accurately as possible.
Plan Safe Removal, Labelling, and Storage
Before you begin, assess roof access and establish a safe removal plan that protects the historic fabric.
Label every tile and finial clearly, noting its position and condition so you’ll preserve the original arrangement.
Store each piece securely on padded, level supports, protected from impact, moisture, and further damage.
Assess Roof Access
A careful roof-access plan protects both you and the historic fabric before any Victorian tiles or finials are disturbed. Begin from ground level, noting fragile eaves, uneven ground, overhead cables, and nearby conservatories.
Choose a stable access point that limits pressure on the roof and keeps your working route short. Check ladder safety: secure ladders at the top and base, maintain three points of contact, and never rest them against decorative masonry or gutters.
Select roof access equipment suited to the pitch, weather, and tile condition, including properly installed scaffold, crawling boards, edge protection, and a secured access platform. Arrange a competent inspection before work begins.
Postpone removal in rain, frost, or strong winds. Plan where you’ll stand and how you’ll descend without dragging tools across vulnerable surfaces.
Label Every Piece
Once safe access is in place, establish a removal record before lifting any Victorian tile or finial. Photograph each piece in position, including joints, overlaps, cracks, lichen patterns, and surrounding roof details.
Give every item a unique code, then mark that code discreetly on removable, non-decorative areas using a reversible conservation pencil or approved tag.
Record its orientation, course, neighbour, condition, and original location on a scaled roof plan.
Note finial components separately, including caps, collars, sockets, and fixings, so you can preserve their assembly sequence.
Your notes should capture the roof’s Historical significance and guide careful reinstatement.
Apply recognised Preservation techniques: handle pieces by sound sections, avoid scraping historic surfaces, and flag fragile areas for specialist assessment.
Confirm each label against photographs and the register before removal continues.
Store Tiles Securely
How you store each tile after removal can protect its historic fabric as effectively as careful handling during dismantling. After labelling every piece, wrap ridge tiles individually in acid-free tissue or soft, breathable fabric. Don’t use plastic directly against terracotta, as trapped moisture can encourage salt damage and staining.
Place tiles in sturdy, shallow crates with padded dividers, keeping them upright where their profile allows and never stacking heavy pieces on fragile edges. Support projecting mouldings and record the crate contents clearly.
Store finials separately, cushioning their bases and delicate ornament. Their finial intricacy makes them especially vulnerable to knocks, while tile durability depends on preventing abrasion, impact, and damp.
Keep crates under cover in a dry, ventilated space, raised from the floor and away from frost, chemicals, and building traffic. Inspect periodically for moisture, movement, or newly visible damage.
Clean Terracotta Without Causing Damage
Before cleaning Victorian terracotta, identify its original finish, firing quality, and areas of weakness, since aggressive methods can erase surface detail or drive water into the body of the tile.
For historical preservation, begin with dry, soft-bristled brushing to remove loose dust, moss, and nesting debris. Work outdoors in shade, and support each piece securely as you proceed.
Test any cleaning techniques on an inconspicuous area first. If grime remains, use a barely damp natural-fibre brush and clean water, applying gentle strokes rather than scrubbing.
Avoid pressure washing, abrasive pads, wire brushes, bleach, acids, and household detergents; these can scar the surface, strip historic coatings, or leave damaging residues.
Rinse sparingly, blot excess moisture, and let the terracotta dry slowly in moving air before evaluating the result.
Repair Cracks, Chips, and Missing Details
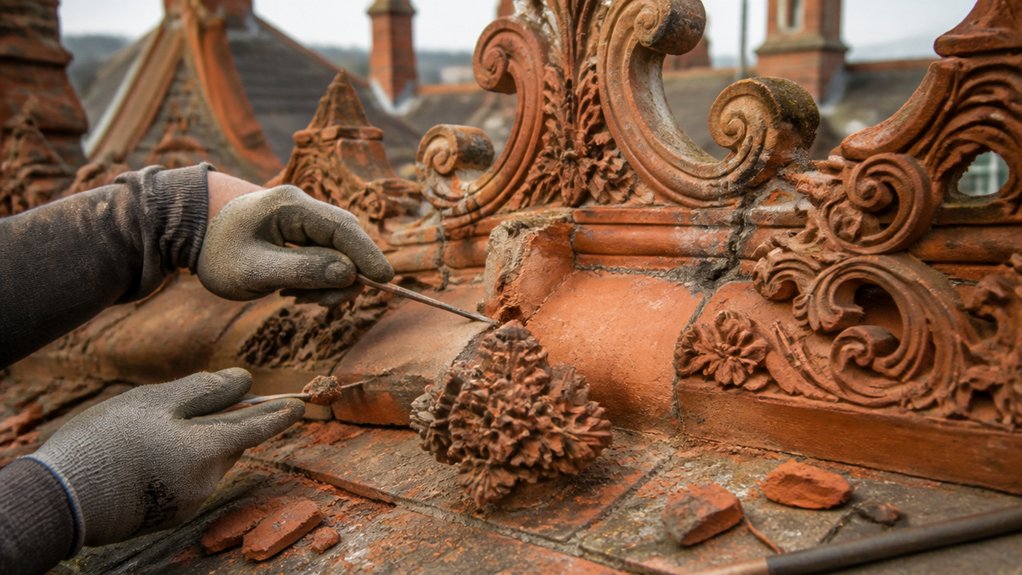
Assess each tile carefully, distinguishing structural cracks and chips from historic wear before you intervene.
Repair damage with compatible, reversible materials that respect the original terracotta.
Where details are missing, recreate them from surviving evidence, matching the form, texture, and finish with restraint.
Assessing Tile Damage
A careful inspection reveals whether a Victorian tile needs gentle cleaning, a sound repair, or sympathetic replacement. Begin from the ground, then use safe access equipment to examine every ridge tile and finial. Photograph each piece, noting its position, orientation, maker’s marks, glaze, colour, and decorative pattern.
Look for hairline fractures, open breaks, edge losses, spalled surfaces, failed joints, distortion, and missing ornament, but don’t disturb fragile material. Record whether damage appears historic, weather-related, or recent, and map it on a measured elevation.
Consider the tile’s Historical significance before judging its condition; an imperfect original may matter more than a visually identical substitute. Careful Material analysis can identify terracotta composition, finishes, and compatible historic treatments.
Consult a conservation specialist when structural movement, widespread decay, or uncertainty could compromise an informed decision.
Repairing Cracks and Chips
Once you’ve confirmed that a cracked or chipped Victorian tile can be retained, stabilise it with the least intrusive repair possible. Clean the break gently, removing dust without enlarging the damage, then test-fit separated edges before applying a reversible, compatible conservation adhesive. Use only enough adhesive to close the joint; avoid forcing misaligned surfaces into place.
For shallow chips, fill losses with a finely graded repair mortar matched to the terracotta’s texture, porosity, and colour. Build the fill in thin layers, allowing each to cure before carefully shaping it with small tools. Match the surrounding surface subtly rather than disguising every trace of age.
Prioritise Material compatibility and Historical accuracy throughout, documenting products and methods. Once cured, protect the repair from moisture and harsh cleaning, and reassess its stability periodically.
Recreating Missing Details
When original Victorian tile details are missing, recreate them only after you’ve established their form, scale, and intended position from surviving fragments, matching tiles, historic photographs, or comparable examples. Prioritise Historical accuracy over visual guesswork, documenting each conclusion before you model a replacement.
For small ornaments, take a mould from an intact counterpart; for unique pieces, carve a clay pattern or commission a skilled model maker. Confirm dimensions, profiles, fixing points, and surface texture against the roof’s existing evidence.
Careful Material sourcing matters: choose compatible terracotta with similar firing characteristics, colour, porosity, and weathering potential. Don’t introduce modern cement or overly smooth finishes that could trap moisture or appear conspicuously new.
Fire replacements carefully, test-fit them without forcing, and record your intervention for future conservation. Finally, secure each detail with reversible, compatible fixings wherever practical.
Match Terracotta Colours and Finishes
Matching terracotta colours and finishes begins with studying the original tile or finial in natural light, noting its base tone, mottling, weathering, and surface texture. Record these observations before you mix anything, because historic clay rarely has a uniform appearance.
For accurate Color matching, compare sound areas with reference samples, allowing for gentle fading and accumulated patina rather than making a replacement look unnaturally new.
Blend mineral pigments into a compatible lime-based coating or carefully selected terracotta slip, testing each formula on discreet sample pieces. Let samples dry fully, then assess them beside the original in changing daylight.
For Finish restoration, reproduce the established sheen and texture with restrained brushing, stippling, or light abrasion. Preserve surviving surfaces wherever possible; your aim is visual harmony, not erasure of age.
Reinstall and Secure Victorian Ridge Tiles
Reinstall Victorian ridge tiles only after the bedding, roofline, and supporting masonry have been checked for soundness and alignment.
Dry-lay each tile first, preserving its original sequence where possible, and compare profiles, overlaps, and colour progressions for historical accuracy.
Replace missing fixings with corrosion-resistant, appropriately sized screws or clips, avoiding anything that could crack the terracotta.
Apply compatible lime-based bedding sparingly beneath each tile, keeping joints neat and allowing the material to support rather than bury the ornament.
Secure exposed finials through existing fixing points, using discreet mechanical restraint where necessary.
Don’t seal ventilation paths at the ridge; maintain roof ventilation without compromising weather resistance.
Check every tile for stable seating, consistent lines, and firm engagement with adjacent pieces before the bedding sets.
Work patiently, because precision protects both fabric and character.
Maintain Restored Terracotta Roof Features
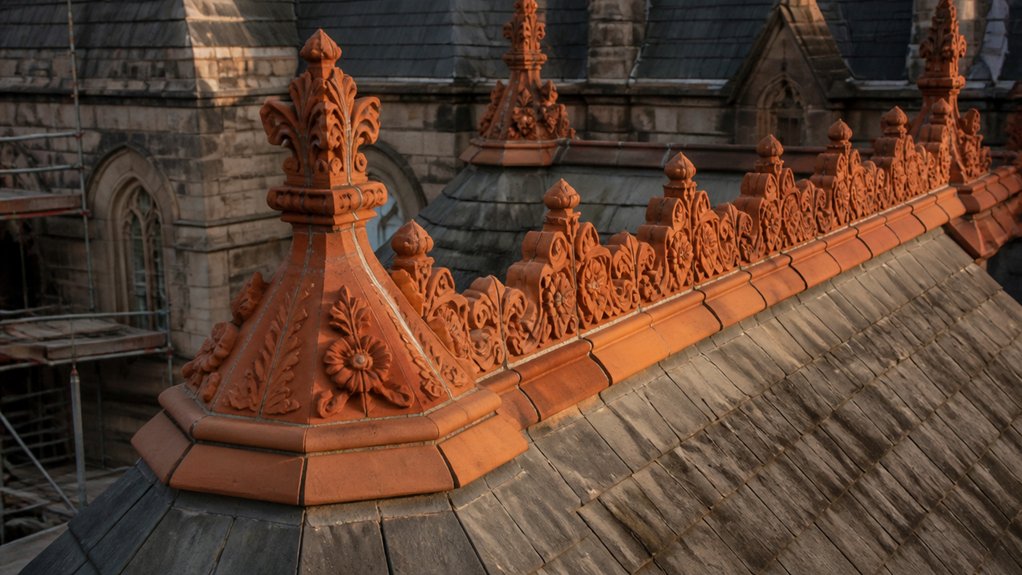
Once the tiles and finials are secure, maintain them through regular, gentle inspections rather than unnecessary intervention. Check them twice yearly, especially after storms, for movement, hairline cracks, biological growth, failed bedding, or displaced mortar. Use binoculars from the ground where possible, and arrange safe access when closer examination is essential.
Don’t pressure-wash, scrape aggressively, or apply impermeable coatings; these methods can damage the fired surface and trap moisture. Clear leaves and moss carefully, using soft tools and approved methods. Record every observation with photographs and dates, creating a useful conservation history.
If deterioration appears, seek specialist advice before repairs, retaining original fabric wherever practical. Support historical preservation through informed decisions, and request material analysis when matching replacement terracotta, mortar, or protective treatments to the existing craftsmanship and weathering.
Conclusion
By following each stage carefully, you’ll protect more than a roof—you’ll safeguard a piece of Victorian craftsmanship. Inspect, document, clean, repair, match, and reinstall every ridge tile and finial with patience, using compatible materials and reversible methods wherever possible. As the adage says, “a stitch in time saves nine”: regular maintenance prevents small defects becoming costly losses. With thoughtful care and skilled workmanship, your restored terracotta features can continue enriching the building for generations.