
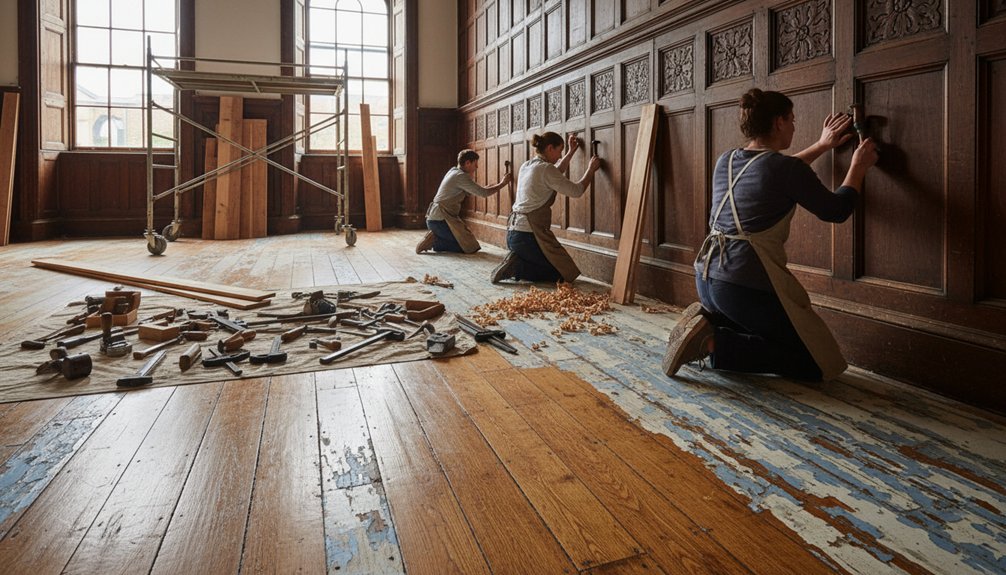
Restoring original floorboards and period joinery can feel like bringing an entire vanished house back to life. Start by deciding what can safely remain, then protect the room before lifting a tool. Strip finishes gently, repair rather than replace sound timber, and preserve marks that record the building’s history. Treat doors, skirting, and other joinery with equal care, because the smallest detail may reveal the next stage of work.
Key Takeaways
- Inspect floorboards and period joinery for historic features, structural damage, previous repairs, and remaining material thickness.
- Protect skirtings, plasterwork, furniture, and doorways with breathable coverings while maintaining safe, controlled ventilation.
- Remove paint, wax, shellac, or varnish gradually using tested, timber-safe methods that preserve original patina and tool marks.
- Repair damaged boards and joinery wherever possible, replacing only structurally unsound timber with matching, acclimatized reclaimed wood.
- Sand lightly, clean thoroughly, apply compatible period-appropriate finishes, and maintain surfaces with gentle cleaning and protective measures.
Decide What Can Be Safely Restored
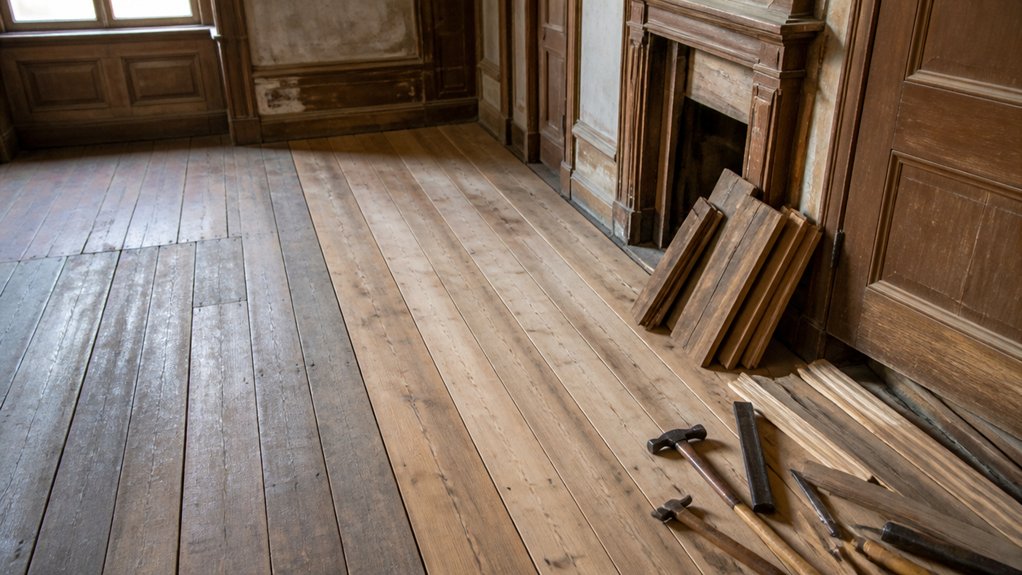
Before restoring original floorboards, inspect their age, wood species, thickness, and condition to determine what they can safely withstand.
Look for historic construction clues: hand-planed surfaces, pit-sawn marks, square nails, irregular widths, and patches from earlier repairs.
Probe soft areas carefully, but don’t mistake normal seasoning cracks for structural failure.
Check whether boards remain thick enough for sanding; repeated refinishing may have left tongues, grooves, or nail heads dangerously exposed.
Map loose boards, splits, insect damage, and stains before choosing repairs.
Consider furniture placement, since concentrated loads can worsen fragile sections.
Moisture control matters equally: identify damp masonry, leaking plumbing, or rising moisture before treating the timber.
Preserve sound, characterful wear whenever possible.
Replace only unsalvageable boards, matching species, grain direction, dimensions, and aging rather than creating an unnaturally uniform surface.
Protect the Room Before Restoration Work
Once you’ve confirmed the boards can be restored, protect the room from dust, vibration, and accidental damage. Begin with careful furniture arrangement: remove fragile objects, curtains, and movable fittings. Then shift heavy pieces outside or onto padded platforms. Don’t drag anything across historic boards; lift it with help.
Create effective dust containment by sealing doorways with taped polythene, covering adjacent openings, and laying breathable protective sheeting over surfaces that must remain. Use rigid boards or clean plywood beneath ladders and tool stations, securing their edges so they can’t move or trap grit.
Protect skirtings, plasterwork, fireplaces, and period joinery with padded coverings rather than adhesive directly on old finishes. Keep ventilation controlled, but don’t block essential airflow. Mark thresholds clearly, maintain a clear route, and inspect protection throughout the work.
Strip Old Finishes Without Harming Timber
Start by identifying the existing finish, since paint, wax, shellac, and modern varnish each require a different method of removal. Test an inconspicuous area before committing to any treatment.
For vintage paint removal, use a sharp scraper held almost flat, then apply gentle, low-temperature heat or a timber-safe solvent. Avoid aggressive sanding that erases tool marks and softens edges.
Lift wax with a suitable cleaner and absorbent cloths, changing them frequently.
Denatured alcohol can soften shellac, while carefully selected, manufacturer-approved stripper may release modern varnish.
Work along the grain, ventilate the room, and wear appropriate protection.
Preserve surviving colour and patina through historic stain preservation: clean gradually, photograph each stage, and stop when the original surface becomes clear.
Never rush; period craftsmanship rewards restraint, patience, and light finishing only.
Repair or Replace Damaged Original Boards
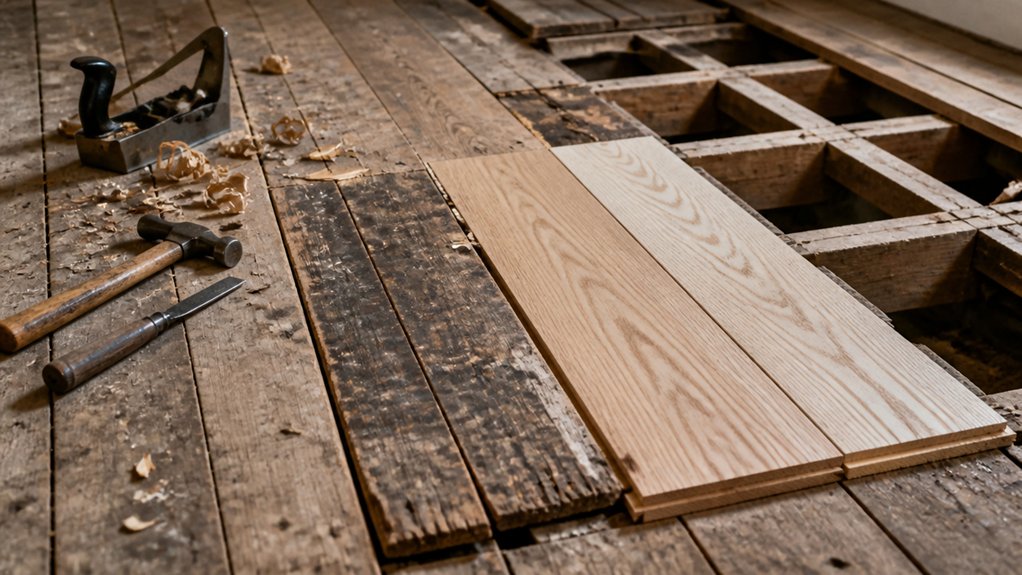
When an original floorboard is damaged, assess whether it can be repaired before considering replacement. Minor splits, nail holes, and shallow wear often respond to careful cleaning, traditional resin repairs, or discreet timber inserts.
Stabilize loose edges, then secure boards with matching cut nails or screws driven through existing fixing points.
Replace a board only when rot, insect damage, or structural weakness makes repair unreliable. Lift it carefully to protect neighboring boards, and record its width, thickness, grain direction, and fixing pattern.
Source reclaimed timber of the same species and comparable age where possible. Let new wood acclimatize before fitting, and plane it flush without erasing historic tool marks.
Use Preservation techniques that retain patina, and approach Color matching subtly; aim for harmony rather than an artificially uniform finish. Test stains and waxes on offcuts first, then protect the repaired area with a compatible finish.
Repair Doors, Skirting, and Period Joinery
With the floorboards stabilized, inspect the doors, skirting, and other period joinery that meet them, since these elements often share the same movement, wear, and fixing methods.
Check each door for dropped hinges, swollen rails, split joints, and altered thresholds. Tighten original screws where sound, but replace missing fixings with appropriately styled counterparts rather than modern bright hardware.
Consolidate loose mouldings with reversible adhesive, and splice damaged timber using matching species and traditional joint profiles.
Ease sticking doors carefully; remove only enough material to restore movement without erasing historic fabric.
Repair skirting cracks, secure lifted sections, and reproduce lost lengths from surviving evidence.
For hardware restoration, clean gently and retain honest wear.
Test paint matching on concealed areas, preserving layered finishes and period colour relationships wherever possible.
Document every intervention before refitting trims.
Sand and Finish Floors With Care
Once repairs are complete and the boards are stable, sand the floor as lightly as possible to remove dirt, uneven coatings, and hazardous splinters without flattening its character.
Begin with careful Floor sanding techniques: use a well-maintained orbital sander on broad areas, then work edges and corners by hand. Follow the grain, change abrasive grades gradually, and stop when historic marks, saw traces, or gentle undulations remain legible.
Don’t chase a perfectly uniform modern surface. Vacuum thoroughly and wipe with a barely damp cloth, allowing the timber to dry fully before finishing.
Consider Finishing product choices suited to the building’s period and use. A traditional hardwax oil or shellac may preserve depth and patina, while a compatible water-based finish offers lower odour.
Test every product discreetly first, then apply thin, even coats.
Keep Restored Floors and Joinery in Good Shape
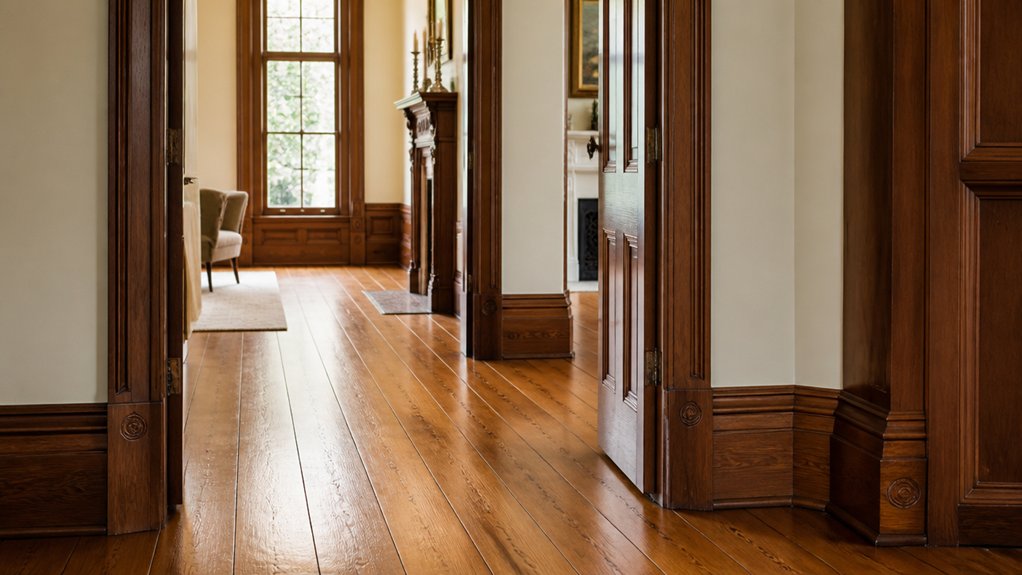
Regular care will protect restored floors and joinery without erasing their age or character. Sweep grit with a soft brush, then damp-mop timber sparingly with a well-wrung cloth and a pH-neutral cleaner suited to your finish. Don’t flood boards or use harsh detergents; trapped moisture can lift coatings and distort historic wood.
Add felt pads to furniture legs, lift rather than drag heavy pieces, and rotate rugs to prevent uneven fading. Good Furniture care also includes checking feet and castors for grit that can scratch the surface.
For Pest prevention, inspect boards, skirtings, and cupboards for fresh holes or dust, and keep rooms ventilated and dry. Don’t seal active infestations inside timber; consult a conservation professional.
Recoat worn areas only with compatible materials, preserving the patina that records your home’s history.
Conclusion
With patience and precision, you can preserve more than timber—you’ll protect your home’s history. Inspect carefully, shield the room, strip finishes slowly, and repair rather than replace whenever possible. Match materials, respect handmade details, and sand sparingly so character remains visible. Once your floors and period joinery are finished, gentle cleaning and regular checks will keep them sound. By combining traditional techniques with thoughtful maintenance, you’ll guarantee these original features continue serving—and telling—their story for years.

