

Before you begin, acknowledge that an Edwardian stained-glass panel may need more than a little attention: weakened leads, cracked glass, and failing cement can threaten both its structure and historic character. You’ll start by evaluating its condition, significance, and stability, then prepare a safe workspace and document every detail. From careful dismantling to re-leading, soldering, sealing, and reinstatement, each step preserves evidence of the maker’s craft—while one hidden weakness may determine how far the repair must go.
Key Takeaways
- Document every defect, orientation, glass type, lead profile, and previous repair before removing the Edwardian stained-glass panel.
- Prepare a safe, ventilated workspace, then dismantle the panel face-up while labeling each glass piece and preserving fragile painted surfaces.
- Repair cracks where possible, replace missing glass with carefully matched material, and cut replacement lead to the original profiles.
- Reassemble, solder, and cement the panel carefully, maintaining appropriate tension, traditional techniques, drainage, and allowance for seasonal movement.
- Reinstall without forcing the panel, record all interventions, and schedule regular inspections for moisture, loose ties, cracking, and failed joints.
Check Damage, Stability, and Historic Significance
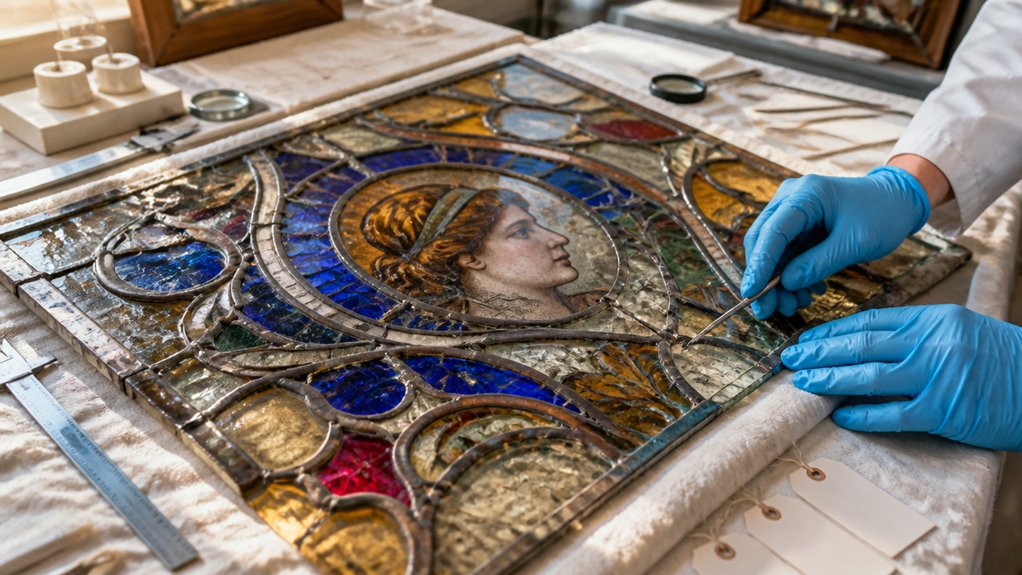
Before any leading is disturbed, examine the Edwardian panel in place, noting cracked or missing glass, split lead cames, bowed sections, failed ties, and signs of water entry.
Record each defect with measured photographs and a scaled sketch, distinguishing original fabric from later repairs.
Your structural assessment should consider whether the panel remains supported by its glazing bars, saddle bars, ties, or surrounding frame, and whether movement threatens painted or delicate glass.
Check joints for fatigue without flexing the panel.
Establish its historical context: identify period glass, maker’s marks, distinctive came profiles, plating, and sympathetic or intrusive alterations.
Preserve evidence of craftsmanship, including hand-painted details and irregularities that reflect manufacture.
Compare archival images or local examples where available, then document significance before proposing any intervention.
Set Safety Limits and Prepare Tools
Once the panel’s condition and significance are recorded, set firm limits for safe handling and prepare a clean, well-lit work area. Don’t proceed if glass is loose, the panel flexes, or lead has become dangerously friable; consult a conservator before dismantling anything.
During workspace preparation, cover a stable, padded bench with acid-free paper or clean felt, and keep the surface free of grit.
Assemble tools before lifting the panel: a glass cutter, running pliers, lead knife, fid, soldering iron with temperature control, regulated heat source, tweezers, brushes, and suitable containers.
Wear protective gear, including cut-resistant gloves, safety glasses, closed shoes, and a properly fitted respirator when dust or old coatings require it.
Keep ventilation effective, electrical cords clear, and an emergency first-aid kit accessible.
Photograph, Label, and Map Each Piece
With the panel secured on its padded bench, photograph both faces in even, diffuse light before removing any component. Include a scale, colour card, and identification number in each view, then make close-ups of painted details, cracks, and historic repairs.
Record orientation with “top,” “bottom,” and compass direction where known; Edwardian makers often worked to architectural positions rather than symmetrical logic.
Use reversible, non-staining labels on the glass, never adhesive directly over painted or flashed surfaces. Number each piece sequentially within its section, and write the same code on its paper tracing. Your Labeling techniques should remain legible, restrained, and consistent.
For Mapping strategies, create a full-size rubbing or transparent overlay, mark lead lines, joints, and missing areas, and maintain a written condition schedule. Preserve every observation before any alteration begins.
Dismantle the Edwardian Glass Panel Carefully

When the panel’s record is complete, dismantle it face up on a padded, rigid bench, working from the perimeter inward and supporting unstable areas with temporary glazing putty or conservation tape. Wear cut-resistant gloves, eye protection, and a dust mask, then identify the original perimeter ties, saddle bars, and later repairs before disturbing them. Photograph each stage, numbering pieces in sequence with reversible labels.
For glass removal, ease putty from the outer lead came with a sharp, suitably controlled tool; never lever against painted or fractured glass. Snip copper ties rather than twisting them, and lift each piece vertically with both hands. Use dismantling techniques that preserve distortions, tool marks, and historic patina.
Keep fragments together in padded, labelled trays, and retain every lead section until its relationship has been recorded.
Clean Glass and Strip Away Worn Came
After dismantling, clean each glass piece on a padded bench, keeping painted, fired, and iridised surfaces face up and fully supported. Begin glass cleaning with a soft natural-hair brush, removing loose dust without dragging grit across the decoration. Use lukewarm distilled water and a small amount of neutral detergent only on stable, unpainted surfaces; never immerse porous or flaking glass.
Blot moisture immediately with lint-free cloths, and record each piece’s orientation before setting it aside.
For lead stripping, wear cut-resistant gloves, eye protection, and suitable respiratory protection. Snip the old came at joints with nippers, then ease it away gradually, supporting the glass rather than levering against edges. Keep came, tie wires, and cement residues separate for examination.
Don’t scrape aggressively: historic glass can carry fragile traces of manufacture, paint, or previous conservation. Bag fragments and label them by position, preserving the panel’s evidence.
Repair or Match Broken Edwardian Glass
Once each fragment is clean and documented, assess whether it can be repaired or must be replaced. Stable cracks may accept a conservation repair, but don’t rely on adhesive alone where movement, missing edges, or severe paint loss threatens the panel.
Preserve original glass whenever possible, especially hand-blown sheets whose bubbles, striations, and slight thickness variations record Edwardian manufacture. For missing pieces, begin glass sourcing through specialist architectural salvage dealers, restoration suppliers, and documented period stock.
Compare samples in daylight and against the surviving panel, not under workshop lamps. Color matching must consider transmitted light, texture, density, and the way age has softened flashed or opalescent glass.
Choose a sympathetic substitute rather than an artificially distressed imitation. Record every decision, retain rejected samples, and label replacements discreetly for future conservators.
Cut and Dry-Fit New Lead Came
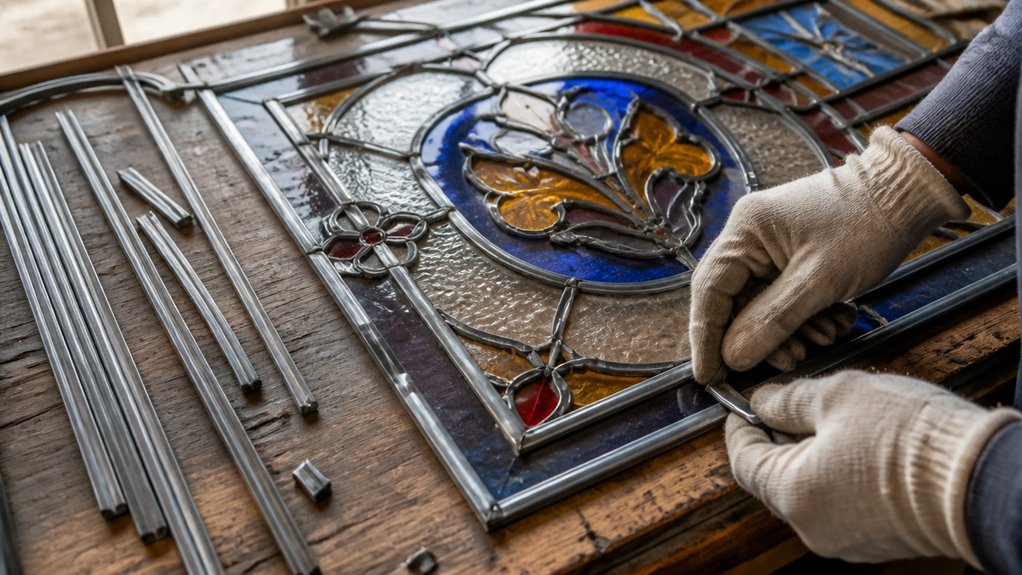
With the glass decisions recorded, cut new lead came to match the original profile and the panel’s structural needs, not merely its appearance. Select came with a comparable heart width, leaf depth, and alloy character; a modern profile can look wrong beside Edwardian work.
Measure each run against the cleaned opening, allowing precise joints rather than forcing lengths into place. Mark cuts with a sharp pencil, then use a lead knife or fine came shears to make square, clean ends.
Dry-fit the came around the replacement and original pieces on a flat, protected board. Check every shoulder and junction for glass alignment, ensuring panes sit naturally in their channels without strain.
Keep the lead tension even: it should hold the geometry lightly, never bowing the came or pressing on fragile edges. Label each piece before removal.
Reassemble and Support the Glass Panel
Set the dry-fitted came and glass on a level, padded board, following the labels and the original photograph or rubbing. Check that each piece sits fully within its lead heart and that joints meet without forcing the glass.
Nudge the came gently with a fid, preserving the panel’s original geometry rather than correcting every historical irregularity. Measure both diagonals and compare them with your records; adjust gradually until the panel lies square and relaxed.
Add temporary, padded battens across vulnerable areas, keeping pressure light and evenly distributed.
For panel reinforcement, fit stainless-steel or traditionally appropriate tie bars only where the size and design require them.
Secure the assembly in its support framing, allowing slight movement and avoiding hard contact with painted surfaces.
Photograph the completed arrangement before proceeding.
Solder, Cement, and Weatherproof the Panel
After confirming that the reassembled panel is square, relaxed, and securely supported, solder the lead joints with controlled heat and minimal flux, protecting painted glass from sudden temperature changes.
Use solder techniques suited to the original Edwardian work: tin each crossing evenly, avoid lingering on fragile cames, and let the joint cool naturally.
Turn the panel only when its framework remains stable.
Next, brush cement beneath the lead flanges, working it into every channel with a stiff, soft-bristled brush.
Use a traditional glazing cement compatible with the existing materials, and remove surplus from the glass before it skins.
Allow the cement to settle gradually in a ventilated, dust-free space.
Finally, apply appropriate weatherproofing methods, sealing open perimeter joints and stopped ends without obscuring historic detailing or trapping moisture within the panel.
Reinstall the Panel and Plan Maintenance
Once the cement has settled and the perimeter is weatherproof, reinstall the panel in its opening without forcing it into a distorted frame. Confirm that bedding, glazing bars, and stops support the glass evenly, then secure the panel with compatible traditional materials rather than rigid modern sealants.
Preserve drainage paths and allow slight movement as the building responds to seasonal change. Check sightlines from inside and outside, ensuring the leading aligns with adjacent panels and the repair remains visually quiet.
Record each intervention, including glass substitutions, solder repairs, cement type, and installation date. This documentation supports future panel reintegration and guides maintenance planning.
Inspect putty, sealant, bars, and perimeter joints annually, especially after severe weather. Address cracking, loosened ties, or moisture promptly, and consult a conservator before undertaking further work.
Conclusion
When you’ve re-leaded an Edwardian stained-glass panel, you haven’t merely repaired a window—you’ve restored a fragile piece of history to its full, luminous voice. Check every joint, support, and seal before installation, then document the work so future conservators can follow your path. With gentle maintenance and regular inspections, your panel can withstand decades of weather, casting jewel-bright colour across the room while preserving the maker’s original rhythm, materials, and remarkable craftsmanship.

