
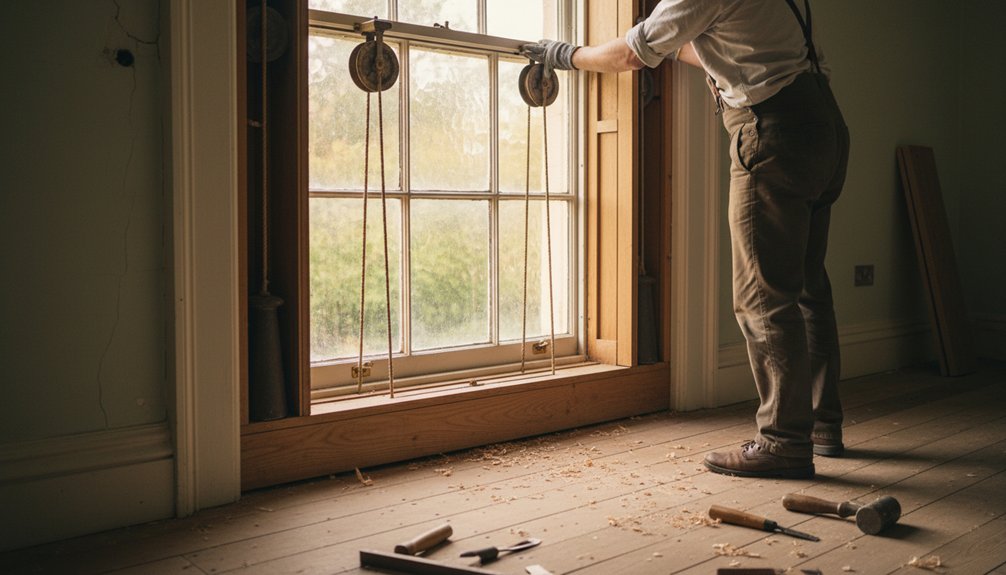
Repairing and re-hanging original Georgian weight-and-pulley sash windows is a careful conversation with the past, where every movement matters. You’ll need to assess the timber, glazing, cords, pulleys, and concealed weights before disturbing the assembly. Gentle removal, compatible repairs, and accurate rebalancing can preserve both character and function, while discreet draught-proofing improves performance without erasing evidence of age. Yet one overlooked defect can compromise the entire window—so begin with a methodical inspection.
Key Takeaways
- Inspect and document each sash’s construction, condition, glazing, cords, pulleys, weights, decay, distortion, and previous alterations before work.
- Remove sashes carefully, retaining original cords, weights, pocket covers, glazing, paint, and labels while supporting them on padded trestles.
- Repair only defective timber, putty, and paint using compatible, breathable, reversible materials while addressing moisture sources first.
- Clean and align pulleys, check cords and weights, then rehang sashes squarely and adjust cord lengths for smooth, balanced movement.
- Add discreet draught-proofing only after operation is satisfactory, seeking specialist advice for distorted frames, decayed stiles, or threatened historic fabric.
Assess Georgian Sash Windows for Repair
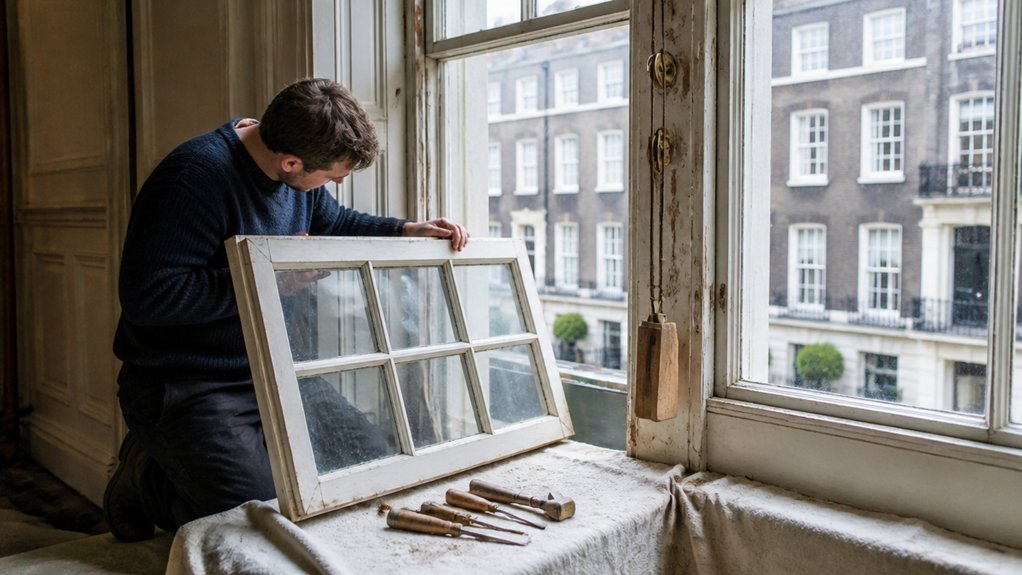
Before repair begins, assess each Georgian sash window in situ, recording its construction, condition, and signs of alteration. Identify the frame’s timber species, sash arrangement, glazing pattern, mouldings, joints, pulleys, cords, and weight pockets. Note paint layers, putty failure, timber decay, distortion, insect activity, draught paths, and previous repairs.
Test operation carefully without forcing stiff components, and document movement, clearances, and evidence of settlement. Photograph every elevation and detail, then create measured drawings and a condition schedule.
Distinguish original fabric from later replacements, including glass, fasteners, locks, and beads. Compare findings with archival evidence or related local examples to support Historical accuracy.
Use non-invasive Preservation techniques first: clean gently, retain sound material, and specify repairs only where documented defects threaten performance or significance. Record recommendations before intervention begins.
Remove the Sash Without Damage
Protect the surrounding joinery, floor, and glass by clearing the work area and supporting the sash securely.
Release each sash cord at the stile, retaining the cords, knots, and weights for accurate reinstatement.
Lift the sash out carefully, keeping it level and avoiding pressure on its delicate glazing bars and historic finishes.
Prepare the Window Area
To prepare the opening, clear the sill and floor, remove curtains and nearby furnishings, and lay a padded covering beneath the window. You’ll protect the Georgian joinery while keeping tools, sash cords, and hardware organized during removal.
Photograph the window, meeting rails, staff beads, parting beads, and pulleys before disturbing anything. Note paint layers, repairs, ironmongery, and existing gaps so you can reinstate each component accurately and preserve Historical authenticity.
Wear cut-resistant gloves and eye protection, but avoid bulky gloves that could crush delicate mouldings. Check the surrounding plaster and timber for loose material, and support vulnerable edges with removable padding.
Keep a labelled tray for fasteners, using paper packets rather than adhesive tape on finished surfaces. Maintain Window security by closing and securing other openings, and never leave this window unattended once opened.
Release the Sash Cords
With the area protected and each component documented, lower the sash fully and inspect the meeting rails, cords, and pulley runs before releasing anything. Support the sash securely within the frame; don’t let its weight load a single cord.
Open the pocket covers or access panels carefully, preserving original screws and finishes. Identify each cord’s route, knot, and attachment point, then photograph and label them. Cut only where necessary, using a sharp blade to avoid tearing fibres or damaging pulley stiles.
If the cords remain sound, untie or unpin them rather than replacing them automatically. Their age, weave, and wear can illuminate sash cord history and guide traditional repair techniques.
Keep weights controlled inside the pockets, and protect the cord ends from fraying. Never pull, lever, or force stuck fittings.
Lift Out Carefully
Once the cords are released and the weights are secured, how you lift the sash matters: raise it evenly a few inches, keeping both stiles supported, then angle it only as far as the frame allows.
Keep your fingers clear of meeting rails, staff beads, and pulley openings, and use a second pair of hands for wide or heavy sashes.
Your lifting technique should protect the fragile glazing, putty, joints, and historic paint layers from twisting or sudden impact.
Before withdrawing the sash, check that no cord, nail, or loose bead still catches the frame.
Follow sensible safety precautions: wear cut-resistant gloves, protect the floor, and never work beneath an unsecured upper sash.
Set the removed sash flat on padded trestles, with glazing supported evenly, and label its orientation before conservation work begins.
Repair Rotten Timber, Glazing, and Paint
Assess the sash’s timber for decay, retaining sound Georgian fabric wherever possible and replacing only material that can’t be repaired.
You’ll also need to renew failed glazing putty carefully, preserving the historic glass and secure rebates.
Once repairs have cured, prepare the surfaces and apply a compatible, breathable paint system.
Assess Timber Decay
Before repairing a Georgian sash window, inspect the timber for decay at sills, lower rails, meeting rails, glazing bars, and joints where water may have collected. Use a bradawl or small probe to test suspect areas gently; sound wood resists, while softened fibres indicate concealed deterioration.
Look for staining, fungal growth, open joints, end-grain cracks, and paint failure, but don’t remove sound historic material unnecessarily.
Trace the source of dampness, including defective putty lines, leaking gutters, condensation, or poor drainage, then address moisture control before completing repairs.
Record the extent of damage with photographs and measurements.
Retain as much original fabric as possible, cutting back only to firm timber.
Choose compatible timber treatment and repair sections, such as matching seasoned softwood, without obscuring evidence of the window’s construction.
Repair Glazing Putty
Where glazing putty has cracked, detached, or lost its seal, rake it out carefully with a putty knife, retaining sound material and avoiding damage to the glass or historic glazing bars. Brush away debris and check that the rebate remains sound, dry, and free from dust.
If timber is soft or decayed, address that defect before reinstating putty. Use an appropriate traditional linseed-oil putty, or a compatible conservation product where specified, matching the existing profile and avoiding modern silicone sealants.
Press putty firmly into the rebate, bed the glass evenly, and tool a neat, continuous bevel that sheds water without obscuring the pane. Follow established glazing techniques and local guidance to preserve historical accuracy.
Don’t force glass into distorted openings; seek specialist advice when movement or fragile historic glass complicates repairs.
Prepare and Paint
Once repairs to rotten timber and glazing are complete, prepare every surface for painting without obscuring historic mouldings, joints, or surviving finishes.
Remove loose paint with hand tools and gentle heat; don’t use abrasive blasting or aggressive sanding that can erase profiles. Feather sound edges, clean dust, and allow timber and glazing putty to dry fully.
Prime exposed wood with a compatible, breathable primer, paying particular attention to end grain, rebates, and repaired joints. Spot-prime filler and putty, then apply two thin, even coats of a suitable exterior paint, respecting the original colour scheme and allowing each coat to cure.
Protect glass with minimal tape, and keep paint off cords, pulleys, and Vintage hardware. Match surviving decorative finishes, and document colours before repainting.
Open and Repair the Weight Pockets
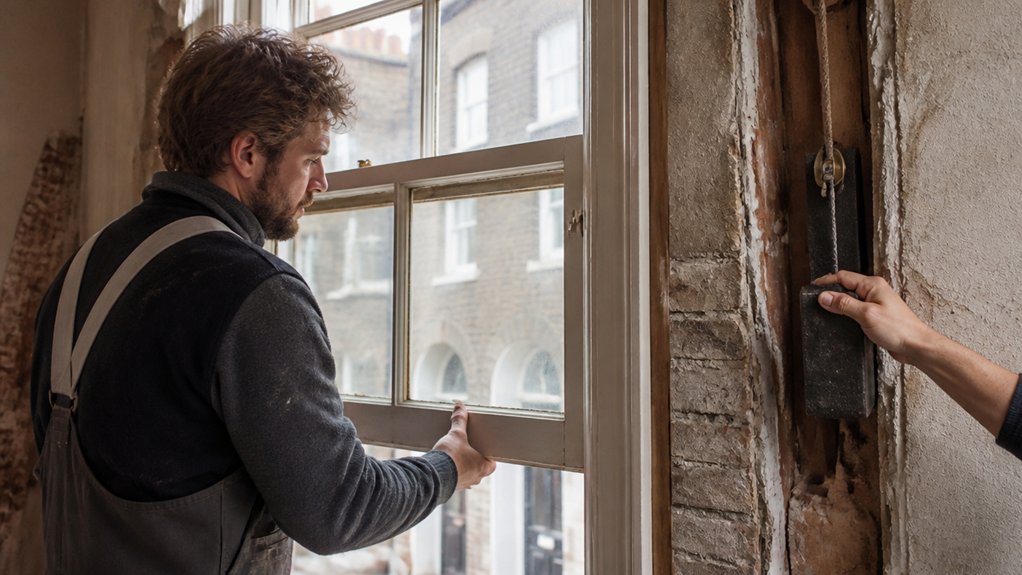
To repair a Georgian sash window’s weight pockets, you’ll first need to expose the concealed pulleys, cords, and weights without sacrificing original fabric. Remove the pocket covers carefully, recording their positions and retaining historic screws. Protect painted edges with a thin blade rather than forcing the boards, and photograph each opening before disturbing anything.
Inspect the pulley boxes, axle pins, pockets, and weight guides for corrosion, debris, loose fixings, or evidence of damp. Carry out gentle weight pocket cleaning with a soft brush and vacuum, avoiding aggressive scraping that could remove evidence or finishes.
Lubricate only appropriate bearing points sparingly. Check pulley alignment and free rotation, then complete pulley mechanism adjustment without altering sound historic components.
Repair damaged covers with compatible timber, secure them reversibly, and leave the opening ready for careful reassembly.
Replace Broken Sash Cords
With the weight pockets open, replace broken sash cords with cords of matching diameter, construction, and appropriate load capacity, preserving the original routing and knots wherever they remain sound.
For sash cord replacement, use traditional braided cotton or pre-stretched cord compatible with the window’s period construction; avoid synthetic substitutes unless documented and visually appropriate.
Inspect each pulley before threading the new cord. Pulley maintenance includes removing accumulated dust, checking that sheaves turn freely, and retaining original pulleys wherever they remain serviceable.
Don’t enlarge holes or alter meeting-rail details to accommodate modern hardware.
Tie the cord securely to the sash’s existing stile or groove, replicating the historic attachment method.
Cut replacement lengths carefully, leaving sufficient allowance for a neat, durable knot inside the pocket.
Record any altered materials for future conservation work.
Rehang, Balance, and Draught-Proof the Sash
After the new cords are secured, rehang each sash in its original opening, guiding the cords over the pulleys and reconnecting them to the counterweights without twisting or crossing them. Check that each sash runs freely, sits squarely, and remains stationary at any height.
If it rises or drops, inspect cord lengths and counterweight alignment before making small, reversible adjustments. Preserve the existing pulleys, beads, and staff beads wherever sound; Historical accuracy depends on retaining original fabric.
Fit a discreet brush or pile seal to reduce draughts, positioning it so the sash still moves smoothly and ventilation remains practical. Avoid heavy modern strips that obscure mouldings.
Refit catches, lifts, and other Decorative ironmongery in their recorded positions, tightening fixings gently to avoid damaging old timber or finishes. Test closure and movement again.
Know When to Call a Sash Window Specialist
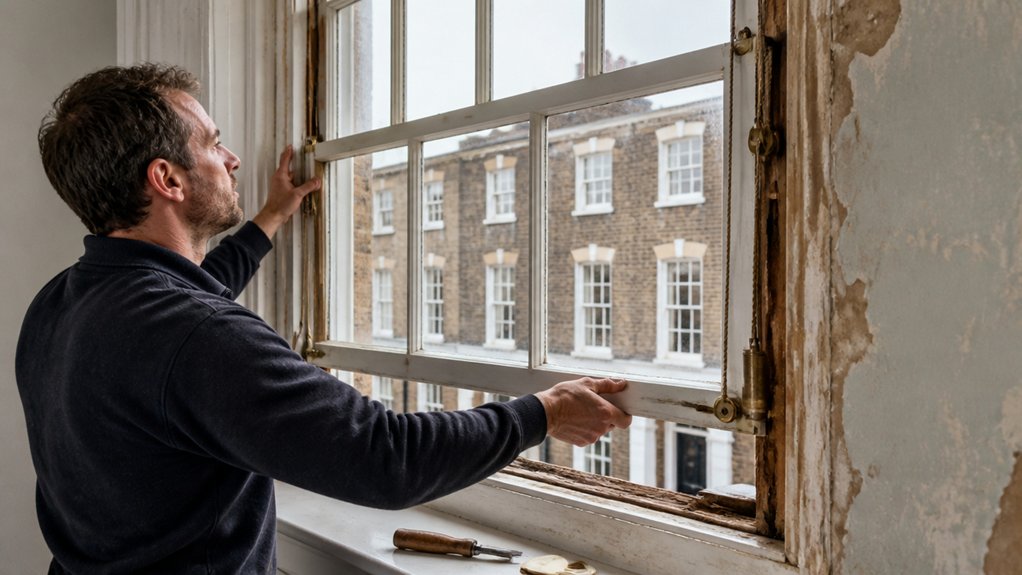
Call a sash window specialist when the repair extends beyond safe, reversible work or threatens original fabric. Seek expert help if the box frame has distorted, pulley stiles have decayed, or sash joints have opened beyond careful consolidation. A specialist can assess timber moisture, identify inappropriate previous alterations, and specify repairs that retain historic glass, mouldings, fasteners, and evidence of craftsmanship.
Don’t rout out sound wood, replace weighted sashes with modern systems, or strip sound paint without understanding its significance.
Where access involves scaffolding, lead-based coatings, or structural movement, professional oversight protects you and the building. Include specialist inspection within your sash window maintenance plan, particularly before draught-proofing or repainting.
This measured approach supports historical preservation while improving operation, security, and durability through compatible, documented interventions.
Conclusion
Repairing and re-hanging an original Georgian sash window rewards patience, precision, and restraint. Remember that historic windows can last for centuries: many surviving examples are over 200 years old, proving that repair usually outperforms replacement. By retaining sound timber, matching traditional materials, and adjusting weights and cords carefully, you’ll preserve both character and performance. Document your work, avoid unnecessary alterations, and call a specialist when decay or movement exceeds your confidence. That way, the window’s history—and usefulness—can continue.

