
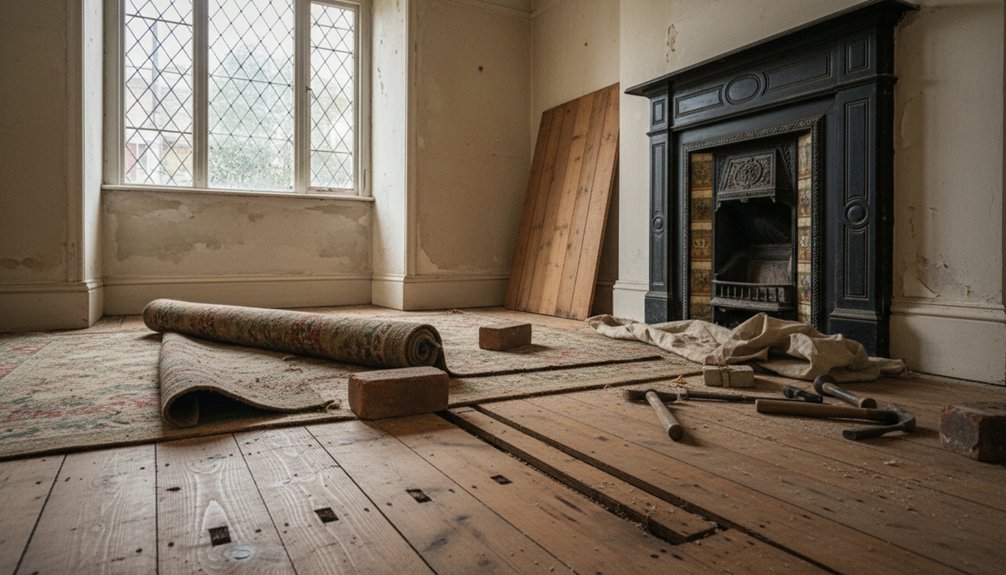
Before you lift a single board, check whether your Victorian flooring is sound enough to save and whether previous alterations have affected the room’s structure. You’ll need to remove modern coverings carefully, protect original skirting and joinery, and document every stage. Once exposed, the boards may reveal gaps, damp, woodworm, or historic repairs that determine the right treatment. The most important decisions come before sanding, because careless removal can destroy the character you’re trying to preserve.
Key Takeaways
- Assess boards, joists, damp, ventilation, rot, and woodworm before removing coverings or deciding what can be preserved.
- Prepare each room safely, remove doors where necessary, protect surfaces, and locate pipes, cables, radiators, and grilles.
- Lift carpets, laminate, gripper rods, staples, and adhesive carefully, documenting floor layers and avoiding damage to original boards.
- Repair defects with matching reclaimed timber and conservation-grade materials, while addressing leaks, infestations, and structural weaknesses professionally.
- Scrape and sand minimally with the grain, then apply a tested, suitable finish that protects Victorian character without over-modernising it.
Check If Your Victorian Floorboards Can Be Saved
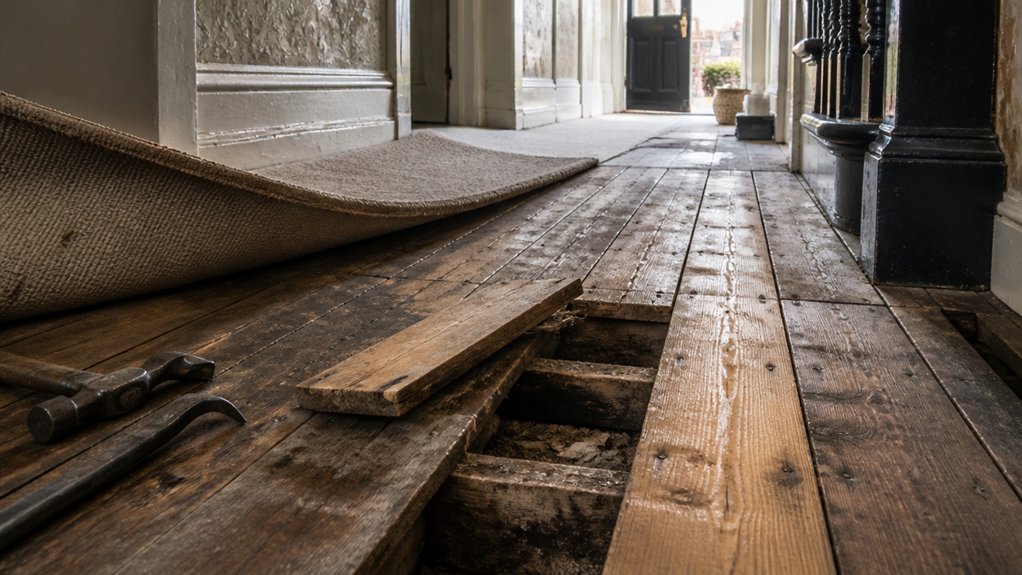
Before lifting a single board, check whether the original Victorian flooring is structurally sound and worth preserving. Examine exposed edges, joints, and surfaces for rot, beetle damage, splits, excessive cupping, or movement underfoot. Probe suspicious areas gently with an awl; soft timber needs professional assessment, not immediate replacement.
Look underneath where accessible, checking joists, damp staining, ventilation, and signs of past leaks. Preserve boards that retain sound fibres, original dimensions, and distinctive wear, since these features support Historical accuracy.
Photograph defects and mark each board’s position before any intervention. Compare salvageable timber with available reclaimed boards, but don’t assume modern replacements will match.
Appropriate Restoration techniques may include localised splicing, resin-free repairs, careful cleaning, and reversible consolidation. If damage compromises safety or widespread damp persists, consult a conservation joiner before proceeding.
Prepare the Room for Floorboard Removal
Once you’ve identified which boards are worth saving, prepare the room so removal doesn’t cause avoidable damage. Clear furniture, ornaments, curtains, and wall-mounted decorative accents from the work area.
Remove doors only if their swing restricts access, and label hinges and screws for accurate reinstatement.
Protect plaster, skirting boards, fireplaces, and nearby flooring alternatives with breathable dust sheets or rigid board, securing edges without taping delicate paintwork.
Open windows where practical, but avoid strong draughts that spread dust through the house.
Isolate the room from adjoining spaces with a temporary barrier, keeping a clear route for carrying boards.
Locate radiators, pipes, cables, and ventilation grilles before lifting anything.
Wear safety glasses, gloves, knee protection, and a suitable respirator.
Keep tools organised, and maintain good lighting across every section.
Remove Carpets, Laminate, and Adhesive Safely
Protect the room with ventilation, gloves, eye protection, and dust control before you start.
Lift carpet and laminate carefully, cutting them into manageable sections while avoiding damage to the Victorian boards beneath.
Soften adhesive residue with a suitable low-moisture remover, testing it first and never scraping aggressively.
Prepare the Room Safely
Start by clearing the room completely, then open windows and shut doors to limit dust migration while you work. Good room ventilation reduces airborne fibres, but don’t create draughts that could spread dust through the house.
Cover fixed furniture, seal fireplaces and vents, and protect nearby doorways with taped polythene. Isolate electrical circuits before working near sockets, and identify any pipes or cables beneath the floor’s likely location.
For personal safety, wear sturdy gloves, eye protection, a suitable dust mask, and footwear with firm soles. Keep children and pets away, and provide bright, low-level lighting without placing leads across access routes.
Before disturbing coverings or adhesive, check for mould, pests, lead-containing coatings, or suspicious materials; stop and seek specialist advice if you find anything unusual.
Don’t use heat or solvents near historic timber.
Lift Carpet and Laminate
With the room secured, cut the carpet into manageable strips, keeping the blade shallow so it doesn’t gouge boards or catch hidden cables. Roll each strip inward, then remove gripper rods with a pry bar, protecting skirtings with a thin block. Bag staples separately and lift them with pincers rather than dragging tools across boards.
For laminate, start at a doorway or exposed edge. Unclip floating planks in reverse order, numbering reusable pieces; don’t force swollen joints. If boards are glued or nailed, use a flush-cutting tool and work slowly to avoid splintering Victorian timber.
Photograph layers and record their locations before disposal, preserving evidence of earlier Carpet installation. Set aside sound underlay only if clean and dry.
Review Laminate options later, after you’ve inspected the exposed boards and identified any damaged sections.
Dissolve Adhesive Residue
Once the carpet, gripper rods, and laminate are removed, inspect the exposed Victorian boards for adhesive before applying any cleaner. Test a hidden area first, noting the finish, timber condition, and adhesive type.
For soft, rubbery deposits, warm the residue gently with a hairdryer and lift it using a plastic scraper; avoid metal tools that can gouge pine.
Apply a conservation-approved adhesive remover sparingly to a cloth, never flood the boards, and allow it to work according to the label. Blot dissolved material rather than spreading it across the grain.
For stubborn patches, repeat controlled applications, then wipe with a barely damp cloth and dry immediately.
Don’t sand until residue cleaning is complete, as heat can smear adhesive and clog abrasives. Careful adhesive removal protects original surfaces and preserves historic character.
Inspect the Exposed Victorian Floorboards
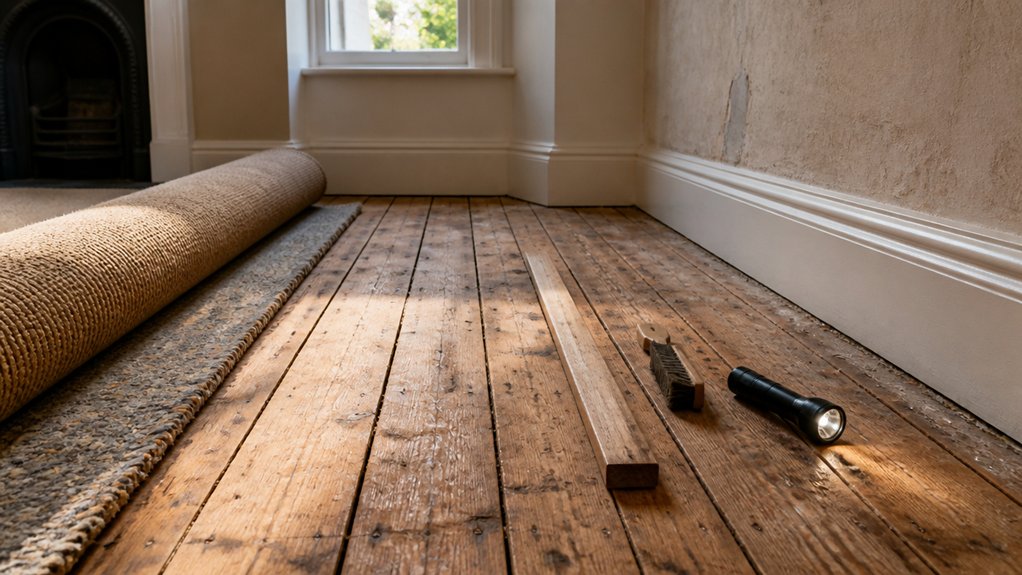
Once exposed, inspect each board for rot, insect damage, splits, loose fixings, and signs of movement.
Identify original Victorian boards by their age, consistent wear, traditional dimensions, and historic fixing methods.
Don’t remove sound material until you’ve recorded its condition and sought professional advice for structural concerns.
Check for Structural Damage
Before you clean or refinish the exposed Victorian floorboards, inspect them for structural damage. Press gently around each board and note flexing, springiness, or movement. Probe softened areas with an awl, especially near walls, joists, fireplaces, pipes, and previous leaks.
Look for fungal decay, beetle holes, split tongues, fractured boards, and rusted or missing fixings. Don’t mistake surface grime for damage, but don’t ignore dark staining or a musty smell.
Check whether joists have sagged, twisted, or suffered rot; damaged joists can compromise foundation stability and reduce the floor’s load bearing capacity. Stop work if you find extensive decay, active infestation, unsupported spans, or unsafe movement.
Photograph and mark defects, then ask a conservation-minded structural professional to assess repairs. Keep temporary loads off suspect areas until they’re made safe properly.
Identify Original Floorboards
To identify original Victorian floorboards, examine their pattern, dimensions, and construction rather than relying on colour alone.
Look for consistent board widths, typically narrower than many modern replacements, and inspect the grain, saw marks, nail types, and tongue-and-groove joints.
Hand-cut edges, square nails, and irregular spacing can support Historical authenticity, while machine-sawn surfaces, uniform dimensions, and modern fixings may indicate later work.
Compare exposed boards with flooring beneath skirting boards, stairs, or fitted cupboards, where original material often survives undisturbed.
Check for matching timber species and continuous wear patterns across adjoining rooms.
Don’t discard mismatched boards immediately; Victorian repairs and local alterations can create variation.
Mark suspected originals before cleaning, and photograph each area.
Recognise Modern adaptations carefully, preserving evidence rather than disguising it.
Fix Gaps, Cracks, and Missing Boards
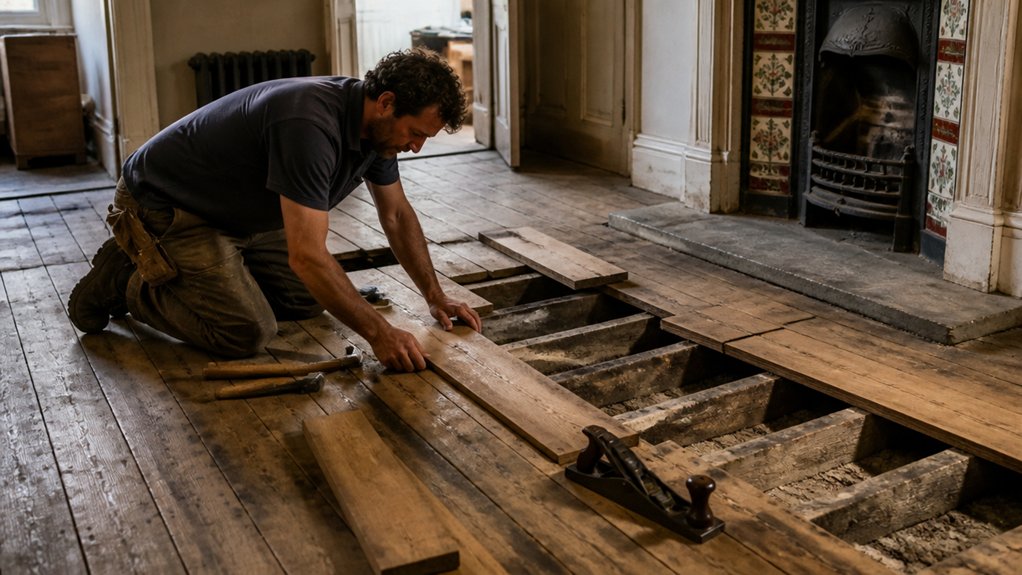
After cleaning and acclimatising the boards, inspect every gap and crack to distinguish normal seasonal movement from structural damage.
For narrow, stable gaps, fit matching reclaimed timber slivers with a flexible wood adhesive, then plane them flush after curing. Don’t fill moving joints with rigid filler, which can split the boards or obscure their original character.
Repair small cracks with conservation-grade filler tinted to the surrounding timber, applying it sparingly.
Where boards are missing, source reclaimed pine or carefully mill new boards to match width, thickness, grain, and wear. Leave replacement timber slightly proud before levelling it by hand.
Record each intervention, retain sound original nails where possible, and avoid aggressive sanding. This approach preserves hidden craftsmanship and maintains historical accuracy while restoring a safe, coherent surface.
Deal With Damp, Woodworm, and Structural Damage
Once gaps and missing boards are addressed, check the floor and its supporting timbers for damp, woodworm, and structural weakness. Use a moisture meter, inspect joist ends in the walls, and look for staining, soft fibres, fungal growth, or fresh bore dust.
Trace leaks, improve ventilation, and keep ground levels and external drainage below suspended floors: effective Damp prevention protects both boards and masonry. Don’t seal wet timber or cover evidence before identifying the source.
For active infestation, arrange professional Woodworm treatment, especially where beetle damage has reduced joist strength. Ask a structural engineer or conservation specialist to assess excessive deflection, cracked joists, failed sleeper walls, or unsafe hearth supports.
Shore the area only with competent advice, and replace unsound timber like-for-like, matching species, section, and traditional fixing methods wherever possible. Preserve sound, repairable fabric.
Sand Victorian Floorboards Without Losing Character
When the boards are dry, sound, and securely fixed, sand them cautiously rather than aiming for a flawless new finish. Victorian floorboards often carry dents, saw marks, nail shadows, and colour variation that record the house’s history.
Start with a floor scraper or sharp card scraper to remove paint drips and high spots, protecting nearby skirting boards. If you use a sanding machine, choose fine sanding techniques, keep it moving, and work with the grain. Avoid aggressive coarse paper, which can flatten edges, expose soft earlywood, and erase wear patterns.
Sand difficult corners by hand, stopping as soon as the surface feels clean and stable. Test your approach in an inconspicuous area first, and vacuum carefully between passes so abrasive dust doesn’t scratch the Victorian floorboards further.
Choose the Best Finish for Victorian Boards
Choose a finish that protects the boards without disguising their age or texture. For most Victorian floors, a hard-wearing, water-based polyurethane offers reliable protection with less yellowing than traditional solvent-based products. Test it on an inconspicuous board first: Victorian timber can vary in colour, porosity, and previous treatment.
Choose sheen carefully. A high-gloss, polished finish can highlight surviving grain but may look too contemporary and reveal every mark. A low-sheen product creates a softer Matte effect, often better suited to period interiors and uneven boards.
Hardwax oil gives you another preservation-friendly option, enriching the timber while retaining a natural appearance; however, it provides less resistance to heavy traffic than varnish.
Follow the manufacturer’s coverage and drying instructions, and don’t coat damp, dusty, or inadequately prepared wood. Protect the floor’s character, not merely its surface.
Maintain Your Restored Victorian Floorboards
Regular maintenance will protect your restored Victorian floorboards without erasing their character. Sweep or vacuum with a soft brush frequently, removing grit before it scratches the finish. Place breathable mats at entrances, and use felt pads beneath furniture; avoid rubber-backed coverings, which can trap moisture.
Wipe spills promptly with a barely damp cloth, then dry the boards. Don’t use steam cleaners, soaking mops, bleach, or harsh detergents. Maintain stable indoor humidity and temperature to limit shrinking, swelling, and open joints.
Reapply the manufacturer’s recommended wax or oil only when the surface looks dry, not on a rigid schedule.
For historical accuracy, retain minor wear and compatible repairs rather than chasing a new appearance. Record treatments and follow proven preservation techniques.
Inspect annually for damp, pests, loose boards, or failing finish, and address problems early with a conservator.
Conclusion
Restoring Victorian floorboards rewards patience: the less aggressively you “improve” them, the better they’ll look. Once you’ve checked structure, removed coverings carefully, repaired only what’s necessary, and finished the boards sympathetically, you’ll have a floor with genuine history rather than a factory-perfect imitation. Keep it dry, clean gently, and monitor movement or pests. Your terraced house may never look brand-new—and that’s precisely why its restored character will feel entirely right.

