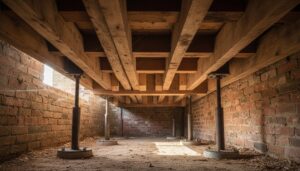
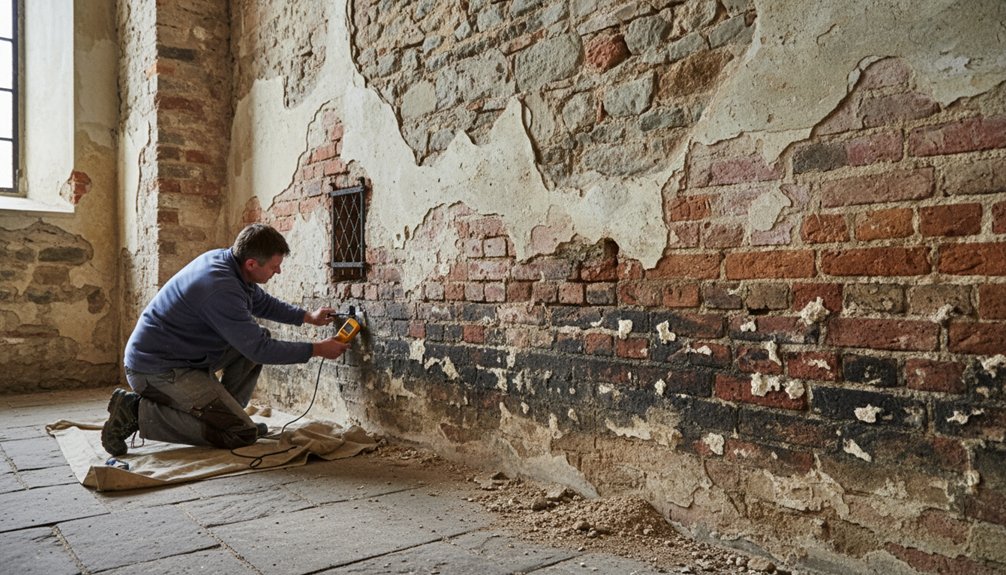
A damp band at the base of a 19th-century stone wall can act like a faulty tide mark, rising and retreating as moisture moves through the masonry. If you spot peeling paint, salt deposits, or crumbling skirtings, don’t assume rising damp is the cause: leaking gutters, high ground levels, and trapped moisture often mimic it. You’ll need careful inspections, moisture mapping, and breathable repairs to protect historic fabric—but the first diagnosis may challenge what the wall appears to be telling you.
Key Takeaways
- Identify low-level damp bands, peeling finishes, salt deposits, and crumbling skirting, while distinguishing rising damp from leaks, condensation, and penetrating rain.
- Map moisture at several heights using calibrated meters, but confirm diagnosis with laboratory testing and documented seasonal observations.
- Inspect and correct external ground levels, drainage, gutters, downpipes, and failed damp-proof courses before considering chemical treatment.
- Remove salt-damaged plaster, avoid impermeable coatings, and use compatible lime mortar, breathable lime plaster, and mineral or limewash finishes.
- Monitor moisture and salt deposits seasonally, maintaining drainage and consulting conservation specialists for listed or historic buildings.
Recognise the Signs of Rising Damp
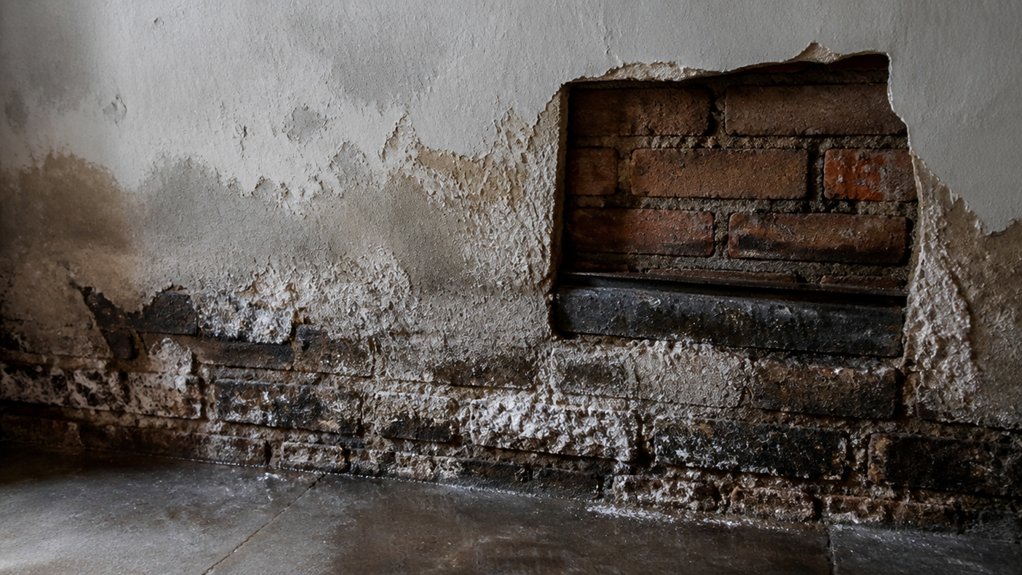
Recognise rising damp by looking for a low-level band of moisture, usually starting at the floor and extending up the wall, often with peeling paint, blistered plaster, salt deposits, or crumbling skirting boards.
In traditional brick and stone walls, inspect both internal and external faces, especially at corners and behind furniture.
Note whether damage follows a fairly consistent horizontal pattern rather than isolated patches.
Record the height, colour, texture, and spread of Wall discoloration, and photograph it before cleaning or repairs.
Check mortar joints for softness and observe whether plaster feels damp or hollow.
Measure Interior humidity with a hygrometer, then compare readings over several days.
In older buildings, map symptoms carefully; lime plaster and breathable finishes can reveal moisture movement more reliably than modern impermeable coatings.
Rule Out Causes Mistaken for Rising Damp
Before treating a wall for rising damp, rule out other moisture sources that produce similar symptoms. Check gutters, downpipes, roofs, and flashings for leaks, then inspect plumbing near stained areas.
Look for penetrating rain around cracked render, failed pointing, porous brickwork, or exposed joints. Condensation can darken surfaces and encourage mould, especially where furniture blocks ventilation.
Salts may also come from past flooding, contaminated fill, chimney deposits, or repeated cleaning, not ground moisture.
Check whether an external ground level, paving, or hard landscaping directs water towards the wall.
Be cautious with Modern building materials: cement render, dense paint, and impermeable pointing can trap moisture in older masonry. Removing such barriers may support Historical building preservation, but proceed carefully and protect significant fabric.
Record each plausible source and address defects before choosing remedial work.
Confirm Rising Damp With Proper Testing
Once you’ve ruled out leaks, condensation, and ground-level defects, confirm that the pattern and moisture profile support rising damp rather than relying on a damp meter reading alone. Map staining, salt deposits, and moisture at several heights, noting whether readings decrease upward in a consistent gradient.
Use a calibrated moisture meter as a screening tool, not proof; salts can distort electrical readings. For reliable evidence, ask a conservation professional to take carbide, gravimetric, or laboratory samples from representative masonry and plaster locations.
Compare results with indoor humidity, wall construction, and seasonal conditions. Record photographs, readings, and sample positions so you can track change without damaging historic fabric.
This disciplined approach supports Historical building preservation while distinguishing genuine moisture movement from problems requiring Modern damp proofing techniques. Avoid drilling indiscriminately or removing original finishes before testing.
Fix Ground Moisture and Damp-Proofing Failures
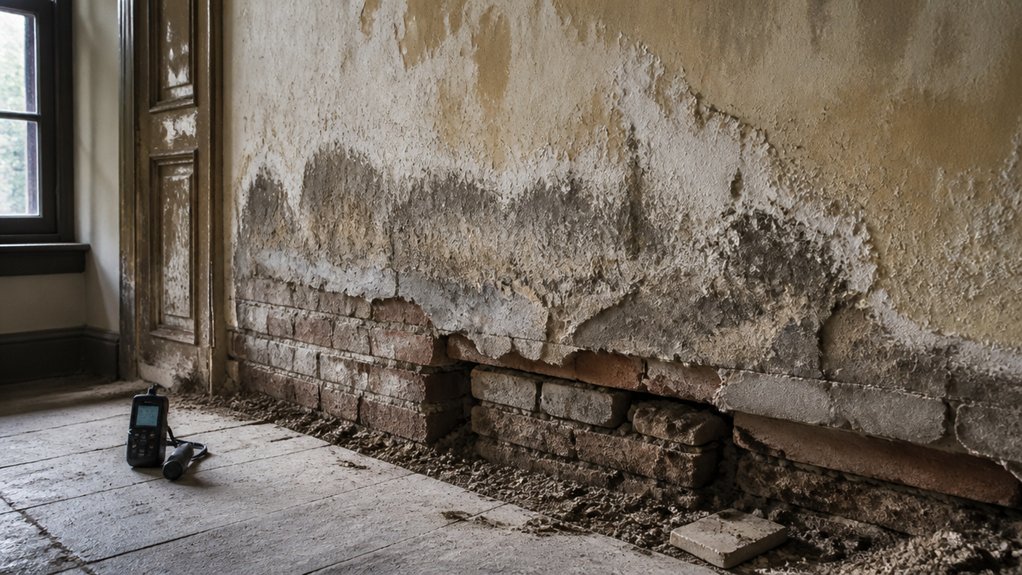
Trace ground moisture by checking levels, gutters, drains, and salts before altering historic fabric.
Repair failed damp-proofing with compatible, evidence-based methods, rather than sealing walls with impermeable coatings.
You’ll also need to improve drainage and ventilation so the building can dry safely.
Identify Ground Moisture
Ground moisture is often the real cause of rising damp, so check external ground levels and drainage before repairing the wall. Inspect paths, paving, flowerbeds, and render around the building. If they sit above the original floor or masonry course, they may bridge ventilation gaps and hold water against the wall.
Look for ponding, blocked gullies, leaking downpipes, and saturated soil after rainfall. Trace water flow rather than relying on salt marks or peeling finishes, which can have several causes.
Assess soil drainage by checking whether water disperses naturally or remains trapped beside the footing. In historic buildings, avoid excavating blindly: record construction details, protect shallow foundations, and seek conservation advice where necessary.
Lowering adjacent ground, clearing drainage, or redirecting rainwater may reduce moisture without damaging breathable brick, stone, or lime finishes.
Repair Failed Damp-Proofing
After correcting ground levels and drainage, inspect the damp-proof course (DPC) and its junctions with floors, paths, renders, and services. Confirm failure through moisture profiles, salt analysis, and compatible visual evidence rather than assuming every stain indicates rising damp.
Repair breached or bridged DPCs by removing hard, impermeable coatings and lowering obstructive finishes where appropriate. Use carefully specified chemical injection only after testing the masonry, wall thickness, and moisture distribution; poorly placed holes can damage historic fabric without stopping water.
Where insertion would cause unacceptable loss, consider Damp proofing alternatives, such as sacrificial lime-based finishes, capillary-breaking repairs, or localised physical barriers.
Match mortar, brick, and stone carefully, and document each intervention. Prioritise Historical preservation: retain sound original material, use reversible methods where possible, and consult a conservation professional for listed buildings.
Improve Drainage and Ventilation
Begin by mapping how rainwater and ground moisture reach the wall: check gutters, downpipes, gullies, paving falls, and soil levels, then correct defects so water drains away without wetting the masonry or bridging the DPC.
Improve garden drainage with permeable surfaces, shallow swales, or discreet French drains, but don’t excavate against historic foundations without professional advice.
Keep external ground levels below the wall’s damp-proof course, where one exists, while preserving breathable finishes and avoiding impermeable cement render that traps moisture.
Inside, increase indoor air circulation with controlled cross-ventilation, background heating, and open vents; use extractor fans in kitchens and bathrooms.
Don’t rely on dehumidifiers to conceal persistent ingress.
Monitor moisture readings seasonally, allowing time for thick masonry to dry before judging whether drainage and ventilation have worked.
Choose a Breathable Rising Damp Treatment
Before choosing a treatment, assess how readily your wall can release moisture, especially if it’s built from historic brick, stone, lime mortar, or earth.
Select a compatible, vapour-permeable system—such as lime-based plaster—rather than sealing the surface with impermeable coatings.
Confirm the diagnosis and treatment suitability with moisture readings and, where necessary, advice from a conservation specialist.
Assess Wall Breathability
Choose a rising damp treatment that matches your wall’s breathability, especially in older buildings constructed with lime mortar, soft brick, or porous stone. Assess wall permeability before assuming damp proves rising moisture.
Check whether mortar joints remain open, finishes are mineral-based, and salts or staining form a consistent pattern above the floor. A conservation surveyor can test moisture at different heights and distinguish surface condensation, plumbing leaks, and penetrating damp from genuine capillary movement.
Don’t rely on a single meter reading: masonry salts can distort electrical results. Note later cement render, dense pointing, paint, or injected materials, because these may restrict drying and alter moisture paths.
Avoid vapor barriers where traditional walls need evaporation; trapping water can accelerate salt damage, frost decay, and timber deterioration. Record seasonal changes before choosing your treatment.
Select Compatible Treatments
Once you’ve confirmed genuine rising damp and assessed the wall’s breathability, select a treatment that manages moisture without blocking evaporation.
In traditional brick or stonework, prioritise repair over prescription. Improve drainage, lower external ground levels where appropriate, and repair gutters before adding a damp-proof system.
Chemical barriers may help when testing confirms capillary moisture and the masonry can accept injection, but they’re not a cure for leaks, condensation, or trapped salts. Obtain an independent specification, and require evidence that the product suits your wall’s age, thickness, and construction.
Avoid impermeable Wall coatings, cement renders, and waterproof sealants, which can divert moisture, accelerate frost damage, and conceal failure.
Choose lime-based render or breathable finishes instead, allowing controlled evaporation.
Monitor salt deposits and moisture seasonally, then reassess before applying further treatment.
Repair Salt-Damaged Plaster and Masonry
Repair salt-damaged plaster and masonry by removing loose, friable material and addressing the moisture source before applying new finishes.
Brush away Salt efflorescence with a dry, soft brush; don’t wash salts into the wall, where they can dissolve and recrystallise.
Rake out failed joints carefully, preserving sound historic brick and stone.
If Wall peeling reveals powdery plaster, remove it back to a firm edge, then allow the masonry to dry thoroughly.
Don’t seal damp fabric with cement render, waterproof coatings, or impermeable paint; these can trap moisture and worsen salt damage.
Repoint with a compatible, vapour-permeable lime mortar, matching the existing fabric.
Replaster with an appropriate lime-based mix, applied in breathable coats.
After curing, use mineral or limewash finishes, and monitor for renewed dampness before redecorating.
Conclusion
If you’ve spotted a tide mark just as paint begins to peel, don’t assume rising damp is the culprit. Check gutters, ground levels, plumbing, ventilation, and salt patterns first, then confirm moisture movement with mapping and testing. Once you’ve found the source, repair drainage or the damp-proof course, lower external levels, and choose breathable lime finishes. Coincidentally, the gentlest remedy often preserves the oldest fabric: let your traditional wall dry, breathe, and prove its recovery through monitoring.