
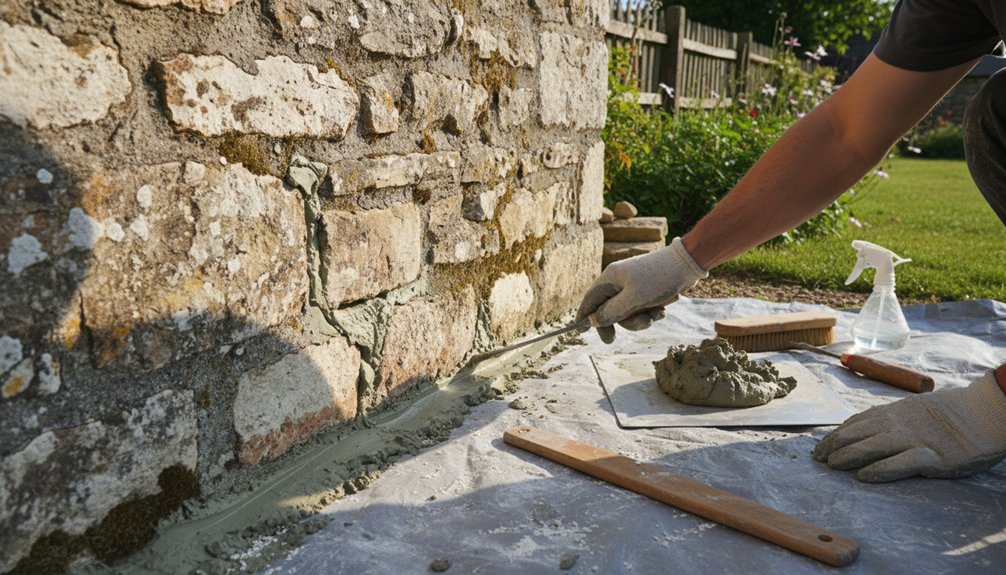
Historic masonry can last for centuries, yet a poorly chosen mortar may damage stone within just a few decades. When you repoint a stone wall with traditional lime mortar, you’re protecting its breathability, movement, and original character—not simply filling gaps. This guide explains how to assess the wall, remove failed joints, prepare compatible mortar, and cure it carefully. Before you begin, however, one overlooked sign could indicate that repointing alone won’t solve the problem.
Key Takeaways
- Inspect both wall faces for failed mortar, damp, vegetation, cracks, bulging, leaning, and other movement before starting repairs.
- Identify the original lime mortar and choose a compatible, breathable mix softer than the surrounding stone.
- Carefully rake out loose joints with hand tools, protecting sound mortar, stone edges, and historic fabric.
- Dampen joints, then compact lime mortar into modest lifts, filling deep recesses completely without bridging cavities.
- Finish joints to the historic profile and protect them from sun, wind, rain, and frost during gradual curing.
Check the Wall and Diagnose Mortar Damage
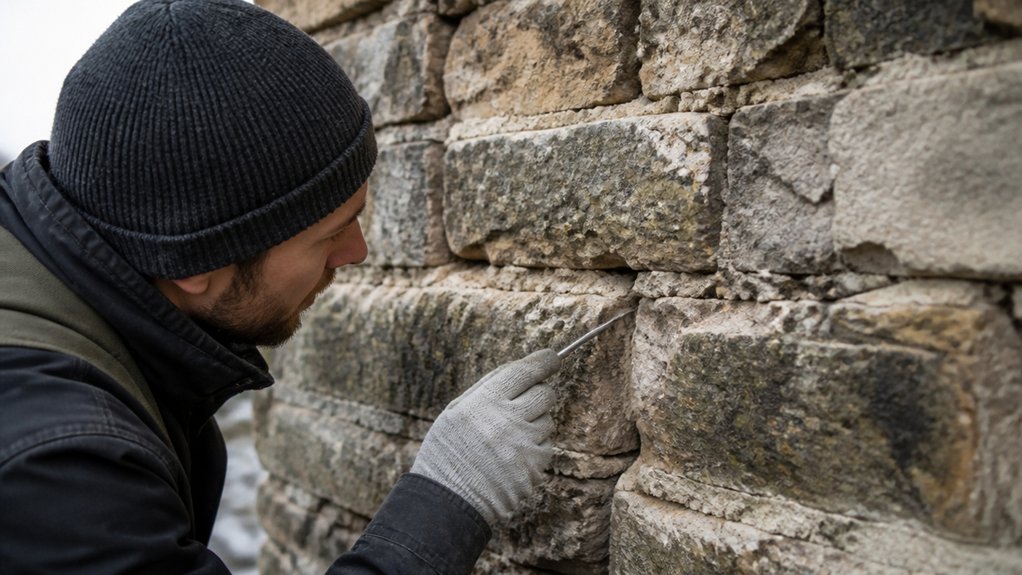
Before repointing, inspect the wall closely to understand how it was built and where its mortar has failed. Study the stone sizes, coursing, joints, previous repairs, and areas of bulging or displacement.
Check for open joints, eroded beds, cracking, damp staining, vegetation, and loose stones; these signs can reveal water entry or movement.
Test suspect mortar gently with a wooden pick, not a steel tool, and record its hardness, texture, colour, and aggregate. This evidence helps you distinguish original work from later cement patches and assess the wall’s condition without unnecessary disturbance.
Examine both faces where possible, including the base, corners, copings, and junctions.
If stones move, the wall leans, or cracks widen, stop and seek specialist advice because Wall stability takes priority over repointing.
Document your findings, including Mortar composition, before planning repairs.
Choose Lime Mortar for Your Stone Wall
Once you’ve identified the original mortar and the wall’s condition, choose a lime mortar that’s compatible with both the stone and the existing joints. Assess whether the historic mix used lime putty or hydraulic lime, then match its strength, permeability, colour, and aggregate grading as closely as practical.
Lime compatibility matters because your mortar should remain softer and more breathable than the masonry, allowing moisture to evaporate without forcing damage into the stone. Avoid strong cement-rich mixes, which can trap water, accelerate decay, and undermine historic fabric.
For historical accuracy, source locally appropriate sand and select a restrained pigment only when evidence supports it. If the original composition remains uncertain, consult a conservation specialist and test small sample panels.
Choose the weakest suitable mortar that will still withstand the wall’s exposure.
Gather Tools and Protect the Work Area
Gather the right tools before disturbing the joints, including a plugging chisel, small club hammer, pointing trowel, hawk, soft-bristle brushes, a mortar hoe or mixing paddle, buckets, a spray bottle, and clean water. Thoughtful Tool selection helps you work gently and prevents accidental damage to historic stone edges.
Choose stainless-steel or well-maintained tools, and keep separate buckets for mixing and rinsing. Prepare Work area protection before you begin: lay breathable canvas or heavy-duty sheeting at the wall’s base, secure it against wind, and shield nearby paths, planting, and timber.
Use stable access equipment on firm ground, never against fragile masonry. Wear eye protection, gloves, and suitable footwear. Keep clean water available for controlled dampening, and arrange tools within easy reach so you won’t lean or strike unpredictably.
Remove Paint, Debris, and Loose Mortar
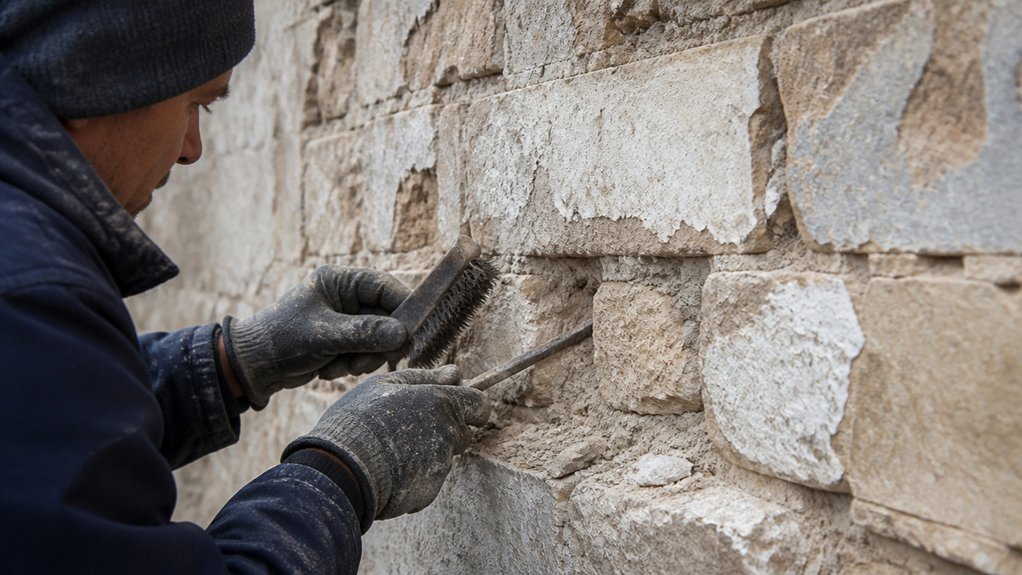
Start by removing surface paint, dust, cobwebs, and vegetation with a soft-bristle brush, taking care not to scour the stone or widen sound joints.
For stubborn coatings, use careful paint removal methods suited to the masonry, such as a plastic scraper or a low-pressure, non-abrasive approach. Don’t use aggressive grinding, heat, or harsh chemicals, which can damage historic stone and trap salts.
Begin debris clearing with a narrow plugging chisel and small club hammer, working along defective joints rather than striking the stone arrises. Remove loose, friable, or hollow-sounding mortar to a sound depth, generally twice the joint’s width where practicable.
Preserve firm original mortar and avoid over-opening joints. Collect fragments as you work, and inspect each joint for hidden voids or unstable edges before proceeding.
Clean and Dampen the Stone Joints
With loose material removed, brush the joints clean using a narrow, soft-bristle brush to clear dust, crumbs, and remaining plant matter without abrading the stone edges. This careful surface cleaning exposes sound mortar edges and helps you judge the joint’s depth and condition.
Don’t use wire brushes, grinders, or pressure washing; they can scar historic masonry, widen joints, or drive water into vulnerable stone.
Vacuum remaining dust with a low-suction nozzle, keeping it just clear of the face.
Next, carry out joint dampening with clean water and a small masonry brush or fine spray. Wet the exposed joint gradually until the surrounding stone and mortar appear evenly darkened, but don’t leave standing water.
Allow absorbed moisture to settle briefly, ensuring the joint remains damp—not saturated—before you begin packing it with fresh lime mortar.
Mix Lime Mortar to the Right Consistency
Choose the water ratio carefully, as excess moisture can weaken the lime mortar and stain historic stone.
Test its workability by ensuring it holds together while remaining workable under the trowel.
Adjust the texture gradually with small additions of water or dry mix until it’s cohesive, firm, and suitably plastic.
Choose the Right Water Ratio
Although the correct water ratio varies with the lime and aggregate, aim for a cohesive mortar that’s damp and workable rather than wet or soupy. Add water gradually, mixing thoroughly after each small addition. This controlled approach helps you preserve the mortar’s intended breathability and reduces shrinkage as it cures.
Your water ratio depends on the aggregate’s grading, moisture content, and absorption, as well as the lime type. Well-graded, damp sand needs less added water than dry, fine sand. Account for these differences rather than following a rigid quantity.
Watch the mortar consistency as you mix: it should hold together without flowing, cling lightly to your hawk or trowel, and remain easy to place in the joint. Don’t compensate for a stiff mix with excessive water; adjust carefully to protect historic masonry.
Test Mortar Workability
Once you’ve added water gradually, test the mortar’s workability before pointing the wall. Your mortar should hold together without slumping, yet remain soft enough to press into open joints without force.
For reliable mortar testing, lift a small handful on your trowel and tilt it gently. It should cling briefly, then release cleanly when tapped.
Press a sample into a spare joint or onto a board, observing whether it beds firmly and contacts the masonry evenly. A proper consistency lets you shape the surface with minimal dragging, preserving fragile arrises and historic fabric.
During this consistency assessment, avoid judging by appearance alone; lime mortar can seem stiff before it settles. Let the mix rest briefly, then test again using the same method before you begin pointing.
Adjust Texture Gradually
Adjust the mortar’s texture in small increments, adding only a little water or dry mix at a time and blending thoroughly after each change. You’re aiming for a cohesive, workable paste that holds its shape without slumping, yet presses into joints without force.
Let the lime mortar rest briefly, then remix it, because hydration can alter its feel. For texture refinement, compare the mix with the sound, existing joint material and consider the wall’s stone type, joint width, and exposure.
Don’t chase a smooth, cement-like consistency; traditional lime mortar should remain open and slightly yielding. Test a small area before proceeding.
During surface blending, feather the edges carefully so repairs settle visually into the historic fabric. If the mix crumbles, add minimal water; if it smears, incorporate dry mortar gradually.
Pack Deep Joints With Lime Mortar
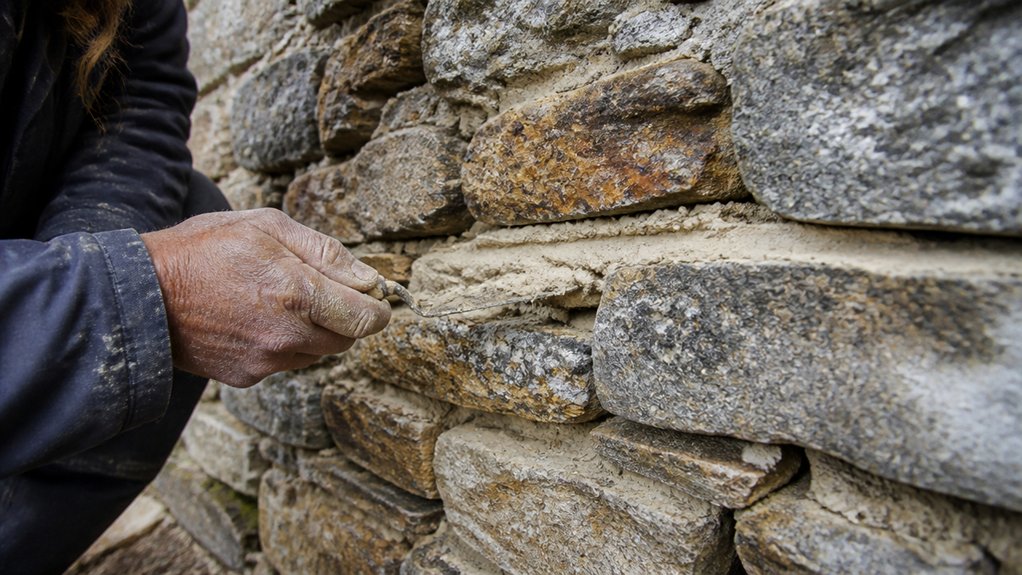
Pack deep joints with lime mortar in successive lifts, allowing each layer to firm up before adding the next so the fill bonds without trapping voids.
Before lime application, mist the prepared masonry lightly if it’s overly dry, but remove standing water.
Use a narrow pointing iron or wooden tool to push mortar fully into the recess, working from the back outward.
Keep each lift modest, typically 25–40 mm, and compact it gently without bruising fragile arrises or forcing mortar behind sound stone faces.
Match the existing bedding mortar’s composition and aggregate grading, preserving permeability and historic character.
For joint filling, support loose stones temporarily where necessary, and don’t bridge cavities with a single heavy charge.
Check each layer for firm resistance before continuing, maintaining consistent depth throughout the wall.
Finish and Cure the New Mortar
As the lime mortar firms, finish the joints to match the historic profile without smearing the stone faces. Use a wooden former, small pointing tool, or churn brush according to the masonry’s original character. Avoid hard tooling, which can draw lime to the surface and seal the joint prematurely.
Your finishing techniques should leave the mortar slightly recessed, flush, or weather-struck only where evidence supports that treatment. Check mortar color as it dries; fresh lime appears darker, so don’t alter the mix to chase an early match.
Protect the work from direct sun, drying wind, heavy rain, and frost with breathable hessian or shade cloth. Keep the covering off the stone faces and dampen the joints lightly when needed.
Maintain gentle, even curing for several days, allowing carbonation to proceed gradually.
Solve Cracks, Shrinkage, and Poor Bonding
If cracks, shrinkage, or poor bonding appear during curing, diagnose the cause before making repairs.
Fine, shallow fissures often indicate rapid drying, excessive suction from the masonry, or an over-rich mix. Mortar shrinkage can also follow too much water, cement, or fines.
Protect the work from sun, wind, and frost, and mist it lightly when conditions demand. Don’t smear fresh mortar over failed material.
Rake out loose or hollow areas carefully, preserving sound historic fabric, then dampen the joint without leaving standing water. Repack it with a compatible lime mortar, matching the original aggregate, strength, colour, and joint profile.
For crack repair, fill in modest lifts and compact each lift firmly.
If the mortar debonds repeatedly, check joint cleanliness, moisture, and curing protection before replacing it again.
Know When to Call a Mason or Structural Engineer
Watch for stepped cracks, bulging faces, displaced stones, or widening joints, as these may indicate structural movement rather than routine mortar failure.
You’ll need an experienced mason when damaged joints, stone bedding, or previous repairs require careful conservation work.
If movement appears active or threatens stability, don’t repoint until a structural engineer assesses the wall and specifies appropriate repairs.
Signs of Structural Movement
Before repointing, check whether the stonework is moving rather than merely weathered. Look for stepped cracks through joints or stones, widening fissures, bulging elevations, leaning walls, displaced quoins, and fresh gaps around openings. Compare these signs over time with dated photographs or tell-tales; active change matters more than an old, stable blemish.
Check whether floors slope, doors bind, or roofs have shifted, as these clues may indicate movement beyond the wall face. Protect foundation stability by investigating drainage, erosion, tree roots, and nearby excavation, but don’t disturb suspect areas unnecessarily.
Wall movement can compromise the building’s historic fabric and make repointing inappropriate until its cause is understood. Stop work and contact a qualified mason or structural engineer when cracks grow, masonry bulges, or displacement threatens safety. Preserve evidence for assessment.
When Masonry Skills Matter
Call a qualified mason or structural engineer when the wall shows active movement, significant bulging, unstable stones, failed lintels, or defects that extend beyond the joints. A skilled mason can safely assess access, protect surviving fabric, and repoint historic masonry without damaging soft stone or eroding sound mortar.
You’ll also need specialist judgment where stones require resetting, courses have lost support, or previous cement repairs resist careful removal. Don’t treat extensive deterioration as a routine DIY task: inappropriate tools, rigid mortar, or excessive raking can worsen water penetration and loss of historic material.
Experienced workmanship supports Historical preservation while delivering subtle Aesthetic enhancement. Ask for references involving traditional lime mortar, compatible mixes, and comparable heritage buildings.
If conditions appear hazardous, stop work, secure the area, and seek qualified assistance before proceeding.
Structural Engineer Assessment
When cracking, bulging, settlement, or displaced masonry suggests movement beyond failed joints, you’ll need a structural engineer to determine whether the wall remains stable and identify the cause. Don’t rake out or repoint affected areas until that assessment is complete.
The engineer may investigate drainage, underpinning, soil movement, failed ties, or foundation stability, then recommend monitoring, discreet restraint, rebuilding, or other proportionate work.
A qualified mason should carry out sound-joint preparation and lime repointing once the structure is safe and the repair sequence is agreed.
Ask both professionals to protect historic fabric, retain sound stones, and avoid cement-rich mortars that trap moisture.
Confirm material compatibility by matching the existing stone, aggregate, mortar strength, permeability, and curing behaviour.
Keep records, photographs, and any engineer’s specifications for future conservation decisions.
Conclusion
With the joints filled, finished, and protected, your stone wall can continue breathing as its builders intended. Check the repointing regularly for cracks, damp patches, or renewed movement, and address small defects before they spread. Don’t hide structural problems beneath fresh mortar; consult a conservation mason or engineer when needed. Traditional lime work is a slow craft, not a quick fix—it’s a living thread connecting the wall’s historic fabric with its future.

