
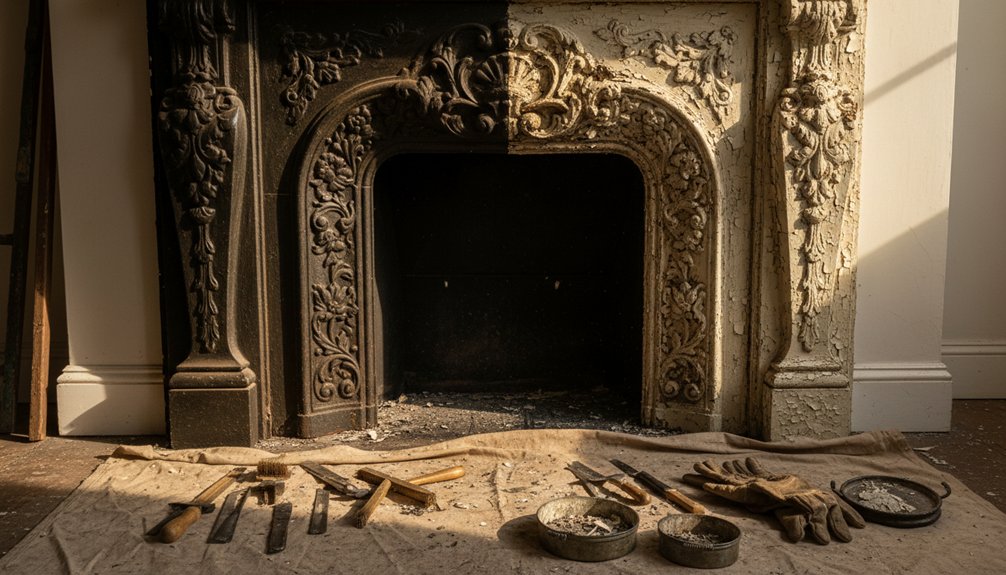
Restoring an ornate Victorian cast-iron fireplace can feel like rescuing an entire piece of architectural history from beneath layers of neglect. Start by documenting its condition, photographing delicate details, and protecting the surrounding room. Test the old paint for lead before disturbing it, then choose a gentle stripper and work gradually, preserving original features wherever possible. As each layer comes away, you may uncover damage, repairs, or clues that determine the safest next step.
Key Takeaways
- Document the fireplace’s condition, test painted surfaces for lead, and establish a protected, well-ventilated workspace before beginning.
- Apply a low-toxicity stripper after patch testing, then remove softened paint gently with wooden or nylon tools.
- Remove rust using brass brushes, nylon pads, or fine abrasives, preserving decorative details, maker’s marks, and original components.
- Protect clean cast iron promptly, then apply thin coats of historically appropriate stove black or suitable high-temperature coating.
- Reassemble carefully and arrange professional inspection of the flue, chimney, ventilation, and fireback before using the fireplace.
Assess the Victorian Fireplace and Work Area
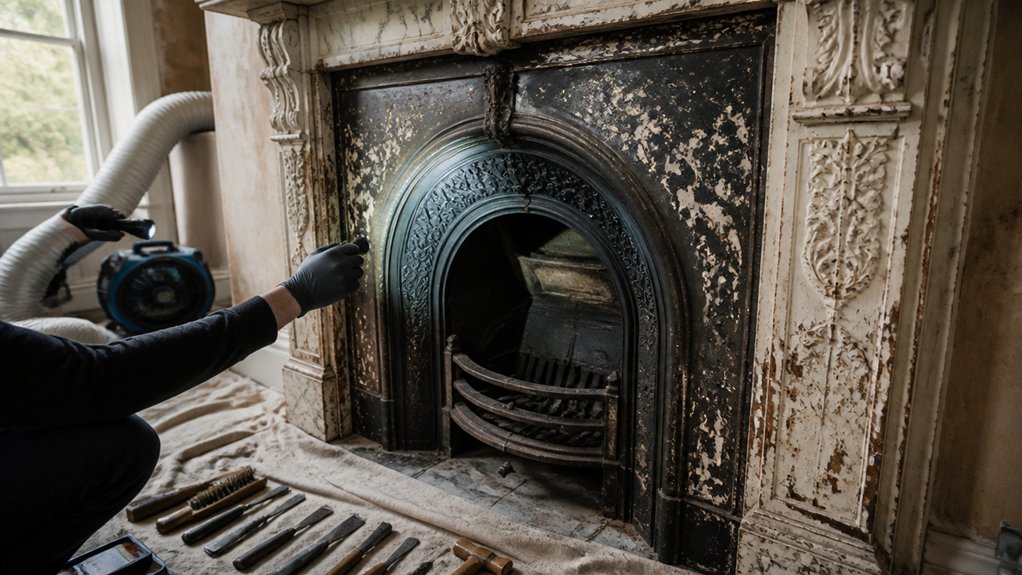
Before you begin any restoration work, assess the Victorian fireplace and its surrounding work area carefully. Photograph the mantel, cast-iron insert, tiles, hearth, surround, and adjoining wall from several angles. Record existing cracks, loose fittings, missing ornament, soot deposits, and previous repairs before moving anything.
Check whether the fireplace sits squarely, whether the hearth feels stable, and whether nearby skirting boards or flooring show movement or damp. Look for surviving maker’s marks, unusual motifs, and original finishes that can guide historical accuracy and protect the character of the Victorian design.
Measure each component and label your photographs so you can document its position. Clear fragile objects from the room, protect floors and furniture with breathable coverings, and establish a well-lit workspace with enough room to handle parts safely. Only work with Victorian fireplace specialists to ensure quality throughout.
Test the Old Paint for Lead
Before disturbing the historic paint, choose a reliable lead test kit designed for painted surfaces. Follow its instructions carefully, then interpret the result according to the kit’s colour guide and safety directions.
If lead is detected—or the result’s unclear—treat the paint as hazardous and plan controlled removal or encapsulation.
Choose a Lead Test Kit
Choose a lead test kit designed for painted surfaces, preferably one recognized by your local health or environmental authority. Look for a kit suitable for cast iron and multiple paint layers, since Victorian fireplaces may contain primer, decorative colors, and later household coatings.
Read the packaging carefully: some kits use swabs, while others require a small paint chip and laboratory submission. Choose the method that minimizes disturbance to the finish and provides reliable information about possible lead contamination.
Before testing, wear disposable gloves, keep children and pets away, and avoid sanding or scraping the surface. Select a discreet area, such as the rear edge or an existing chip, so you respect the fireplace’s historic character.
Check the kit’s expiry date, instructions, and compatibility with the suspected paint composition.
Interpret Test Results
Read the kit’s result within the specified time, then compare its color change or laboratory report with the manufacturer’s interpretation guide. Don’t judge a faint line, stain, or unusual shade after the stated window; drying can distort test accuracy.
If the result indicates lead, treat every painted surface as hazardous and stop scraping, sanding, or heating the fireplace. Lead poisoning can result from swallowing dust or transferring residue from hands to food.
Keep children, pets, and other occupants away, and seal the area until you’ve arranged professional guidance. A negative result doesn’t always prove safety, especially on layered, cracked, or uneven historic coatings.
Test several representative areas, including trim and hidden details, if the instructions permit. Record locations and results, then choose lead-safe containment and removal methods before continuing the restoration.
Strip Paint From the Fireplace Safely
Choose a low-toxicity stripper suited to the fireplace’s surface, especially if testing found lead-based paint.
Protect nearby masonry, floors, and fittings before you remove each layer slowly, preserving original details and controlling dust.
Choose Safe Paint Strippers
Before stripping paint from a Victorian fireplace, identify the coating and select a low-toxicity, non-caustic stripper labelled safe for the surface beneath it. Check whether the product suits cast iron and any surviving brass, enamel, or decorative detailing. Avoid methylene chloride, caustic soda, and unlabelled industrial blends, which can damage historic finishes and create serious fumes.
Read the safety data sheet, then follow the manufacturer’s dwell time and removal instructions precisely. Wear chemical-resistant gloves, eye protection, and suitable respiratory protection as directed; chemical safety depends on correct equipment and ventilation.
Prefer a water-based or biodegradable formula, but don’t assume “natural” means harmless. Consider environmental impact: choose minimal packaging, prevent residue from entering drains, and dispose of softened paint and contaminated materials according to local regulations.
Test compatibility on an inconspicuous area first.
Protect Surrounding Areas
How can you protect the room while preserving the fireplace’s historic fabric? Start by clearing furniture, ornaments, and rugs from the work zone. Cover remaining furnishings with plastic sheeting, then place heavy-duty drop cloths across the floor, extending beyond the hearth to catch splashes and debris. Secure their edges so you won’t trip or expose flooring.
Seal gaps around the mantel, skirting boards, and adjacent walls with low-tack masking tape. Press the tape down gently, avoiding fragile paint, wallpaper, or decorative finishes. Add cardboard or rigid board beside the fireplace to shield vulnerable surfaces from tools and containers.
Keep ventilation routes open, but prevent drafts from carrying dust into other rooms. Set stripping products, water, and waste containers on a protected, stable surface. Before starting, check that every nearby surface remains covered, accessible, and safely dry.
Remove Layers Carefully
Begin by testing a small, inconspicuous patch to identify the paint layers and how firmly they’re bonded. Wear gloves, eye protection, and a properly rated respirator, then improve ventilation before starting.
Apply a compatible, low-odour paint stripper in a thin coat, following the manufacturer’s dwell time. Don’t rush layer removal; let the softened coating lift naturally rather than forcing it.
Use wooden scrapers, nylon brushes, and cotton swabs around mouldings, crests, and beading. Avoid steel tools, aggressive sanding, and heat guns, which can scratch delicate ironwork, spread dust, or damage historic finishes.
Work in small sections, removing residue with the recommended cleaner. If several paint layers remain, repeat gently instead of digging deeper.
Stop when you reach sound original metal or a historically significant finish, and document each stage carefully before proceeding.
Clean, Repair, and Inspect the Cast Iron
Once the fireplace is safely stripped of loose debris, inspect the cast iron in good light for rust, cracks, warped sections, failed joints, and missing decorative details. Photograph each face before handling components, noting how grates, panels, and trim fit together.
Vacuum remaining dust with a soft brush attachment, then wipe surfaces with a barely damp cloth and dry them promptly. Don’t scrape aggressively; delicate Decorative motifs can lose crisp edges, while dents or tool marks may reveal earlier repairs.
Check the firebox, legs, and mantel supports for movement, and test every fastener gently. Ask a qualified metalworker to assess structural cracks or heat damage before reassembly.
Preserve original pieces whenever possible, because their historical significance often outweighs minor imperfections. Label removed parts and store them padded, flat, and dry.
Remove Rust and Protect Bare Metal
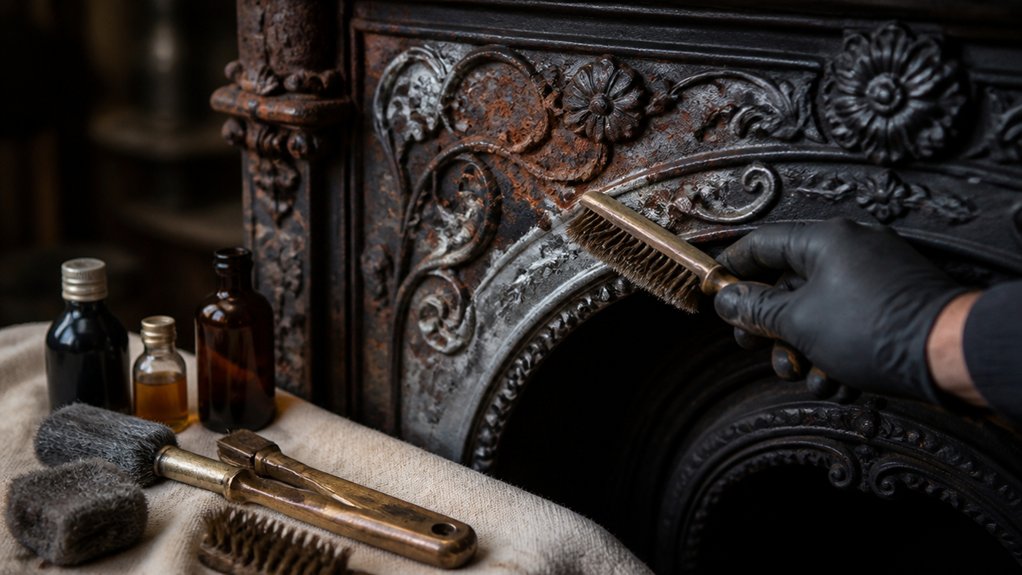
With the cast iron documented and assessed, remove rust carefully so you don’t erase the surface evidence that gives the fireplace its character.
Begin rust removal with a soft brass brush, nylon abrasive pad, or fine abrasive paper, working along moulded details rather than across them. Lift loose corrosion gently, then vacuum dust from crevices; avoid aggressive grinding, which can flatten crisp ornament and stamped marks.
For stubborn rust, apply a suitable chelating gel or rust converter only after testing it in an inconspicuous area, following the manufacturer’s instructions. Wipe residues away and dry the iron completely, especially inside joints and decorative recesses.
Immediately provide metal protection with a compatible, conservation-appropriate barrier to slow renewed corrosion. Handle the cleaned surface with gloves, because fingerprints can introduce moisture and salts.
Keep the fireplace dry and sheltered until you apply the final finish.
Choose and Apply the Final Finish
Which finish suits the fireplace’s age, condition, and intended use? For an authentic Victorian appearance, choose specialist stove black, which restores a soft, traditional sheen without disguising cast-iron detail.
If you prefer color options, use a high-temperature coating formulated for metal; select a restrained shade that complements the original scheme and surrounding masonry. Avoid ordinary household paint, as heat can cause blistering, fumes, or discoloration.
Before application, verify the surface is clean, dry, and free from loose residue. Stir the product thoroughly, then apply thin, even coats with a suitable brush or lint-free cloth, working into recessed ornament without pooling.
Observe the manufacturer’s curing instructions carefully. Assess finish durability against heat, handling, and cleaning needs, and favor breathable, repairable products over glossy modern treatments that can look historically inappropriate.
Reinstall, Check, and Maintain the Fireplace
After the finish has cured fully, reinstall the fireplace carefully, protecting surrounding plaster, tiles, and masonry from knocks or abrasion. As you reinstall fireplace components, match every screw, bracket, and decorative panel to its original position. Don’t force brittle cast iron; support heavy sections and use suitable fixings, preferably retaining surviving hardware where it remains sound.
Before lighting a fire, check for damage, including fresh chips, loose joints, distorted panels, and gaps around the opening. Confirm that the hearth sits level and that the surround remains stable. Have a qualified professional inspect the flue, chimney, ventilation, and fireback before use.
Keep the iron dry, dust it with a soft brush, and wipe spills promptly. Avoid abrasive cleaners, wax buildup, and moisture traps. Record repairs and inspect the fireplace each heating season for movement, rust, or failing finish.
Conclusion
You’ve documented the fireplace, tested for lead, removed each softened layer, and preserved the details that make Victorian iron distinctive. Before you admire the finish, pause: hidden residue, trapped moisture, or a loose panel could undo the work. Check every joint, coating, and surrounding surface once more. Reinstall the fireplace carefully, then light it only after confirming safe ventilation and soundness. With patient maintenance, you’ll protect its history—and the next reveal won’t be an unwelcome surprise.

